App updates can sometimes shuffle the order of puzzles. If this level 224 walkthrough doesn't match your screen, don't worry! You can browse our All Levels guide to find your exact puzzle by its picture.
You must constantly reposition those rectangular shields so the "guards" never get a clear look at your target as it travels upward.
Level Overview
What Makes This Puzzle Tricky
You tap the purple ball. You start dragging it upward. Then—poof—it snaps back to the bottom. It feels broken. It isn’t. The game deliberately hides a critical layer: the play area isn’t safe at all. What looks like a basic drag puzzle is actually a precision stealth challenge built on geometry. Rushing guarantees failure.
Your Goal
Your mission is simple on the surface: get the purple ball into the purple box. But the word “shy” is the real instruction—it means your ball cannot be seen. To succeed, you must physically obstruct the invisible sightlines of the blue balls, turning them into passive observers instead of active threats.
- UI drag: Every visual element—even ones that seem decorative—is interactive and functional.
- Multi-touch: Use two fingers—one to control a shield, one to nudge the ball.
- Hidden object: The entire level hinges on sightlines you can’t see but must respect.
- Timing / waiting: Movement must pause while adjusting cover. Patience isn’t optional—it’s required.
It’s not a mistake. It’s your only tool.
What Appears on Your Screen
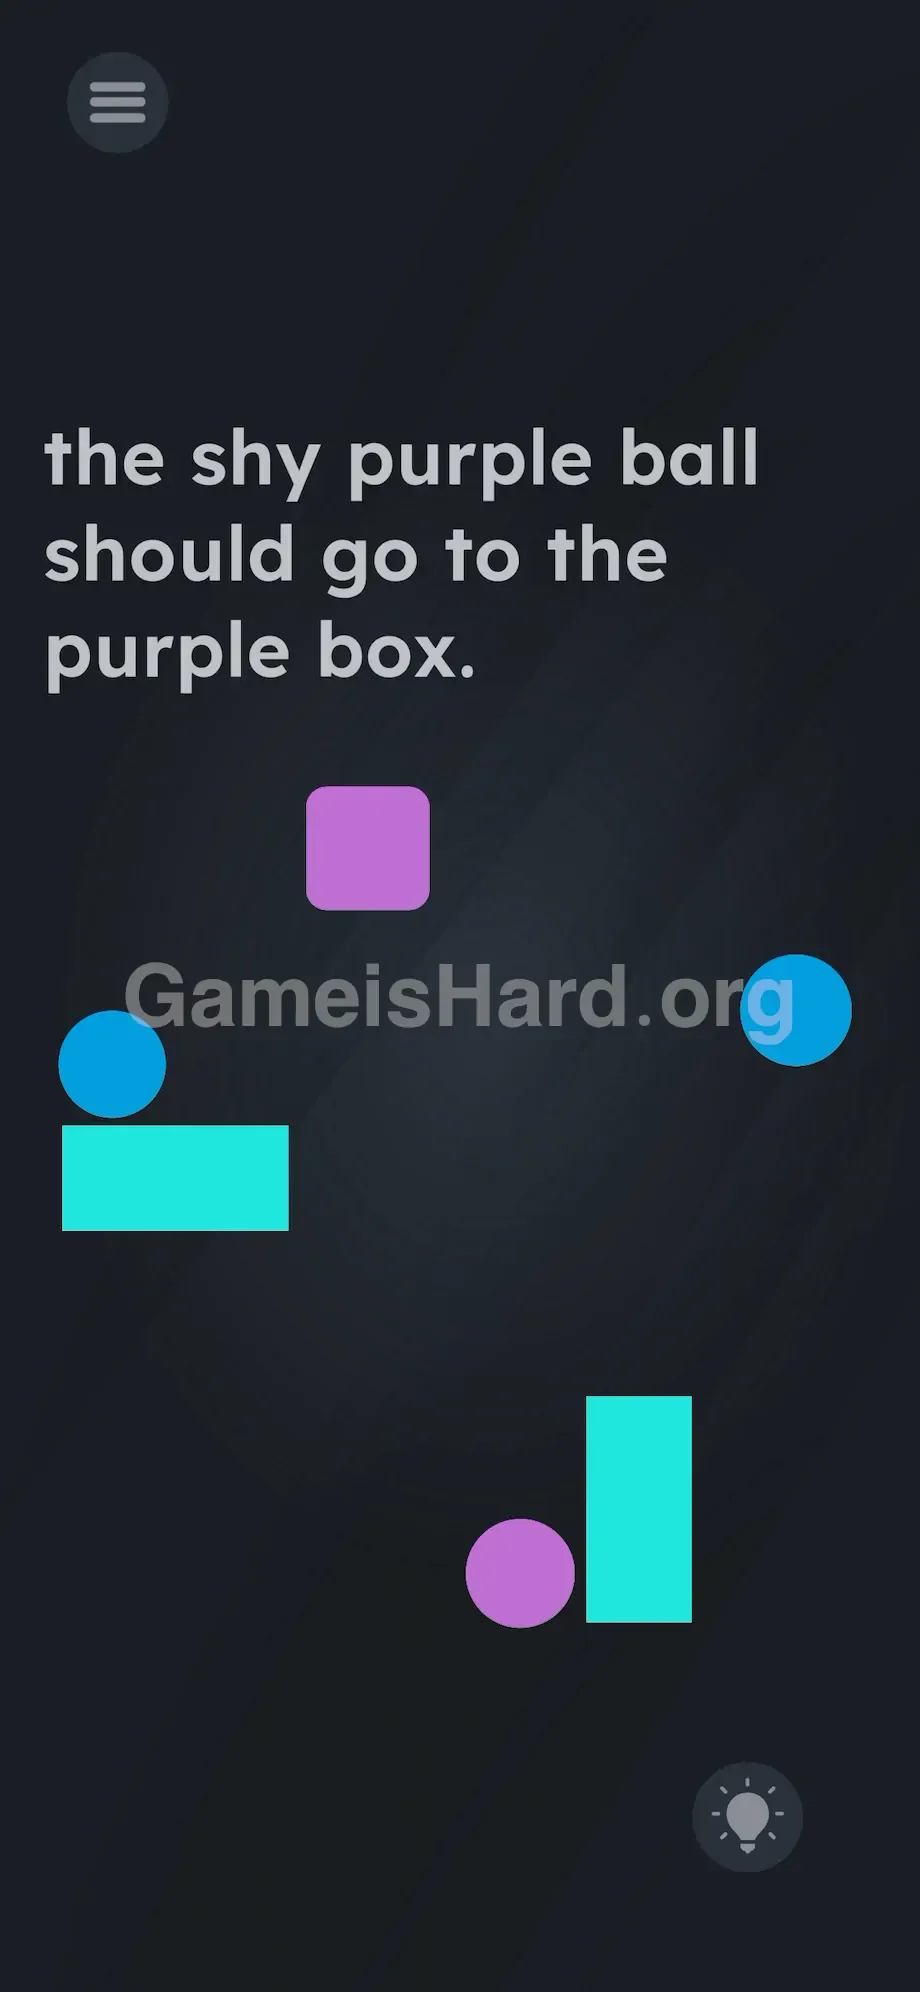
The interface is stark and intentional. At the top, plain white text reads: "the shy purple ball should go to the purple box."
Directly beneath that sits the purple box—the goal zone—rendered as a clean, centered square.
Two blue balls sit in the midsection: one anchored on the left, another slightly higher on the right—like stationary sentries patrolling a corridor.
Also present are two thick cyan rectangles—unassuming, unexplained, and easy to overlook.
At the very bottom rests your target: the purple ball.
In the bottom-right corner, a lightbulb icon offers hints. Skip it—you’re already here. That wide, empty space isn’t just minimalism. It’s part of the test.
Common Mistakes to Avoid
The Trap
Most players fail because they fall victim to “UI Blindness”—a habit formed by years of mobile games where non-interactive visuals are purely decorative. They spot the ball, spot the box, and immediately try to drag. They ignore the cyan rectangles entirely.
But “shy” isn’t flavor text—it’s code. The blue balls have programmed vision cones. If even a sliver of the purple ball enters their invisible field of view, the level instantly resets—no warning, no sound, just silent failure.
First Instincts That Fail
Speed won’t save you. We tried flinging the ball upward at full speed, banking on momentum to outrun detection. It didn’t work—the hitboxes are precise and unforgiving.
Dragging or tapping the blue balls does nothing. They’re fixed assets—like motion sensors—not movable pieces. Don’t waste energy trying to disable them.
Player Reactions
Total forehead-slap moment. After five resets, I was convinced my touchscreen had failed. Then—by accident—I nudged one of the cyan rectangles with my thumb. It slid. In that instant, everything clicked: this wasn’t a logic puzzle. It was a real-time stealth operation disguised as a shape-matching game.
Step-by-Step Solution
Preparing the Move
Don’t touch the purple ball yet—that’s step one toward failure. Instead, focus solely on the two cyan rectangles. These are your portable barriers. Think of them as tactical cover—your first priority is building a protected path before moving your most vulnerable asset.
Executing the Solution
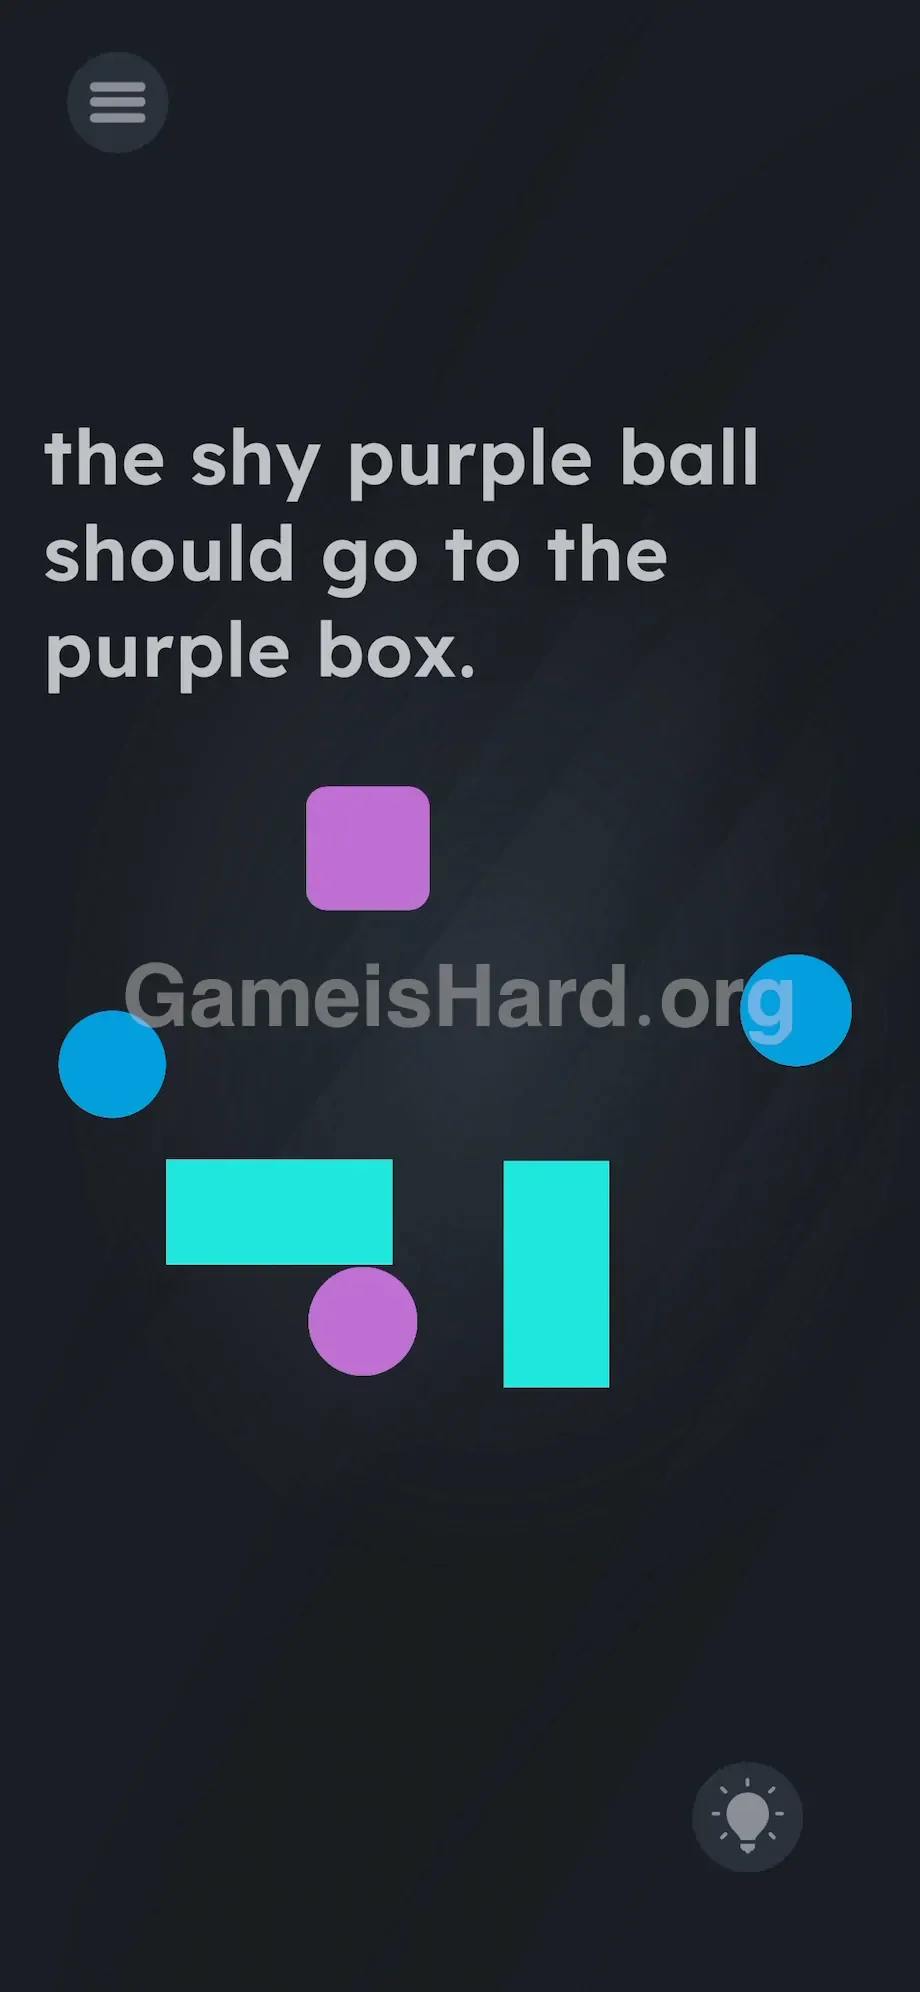
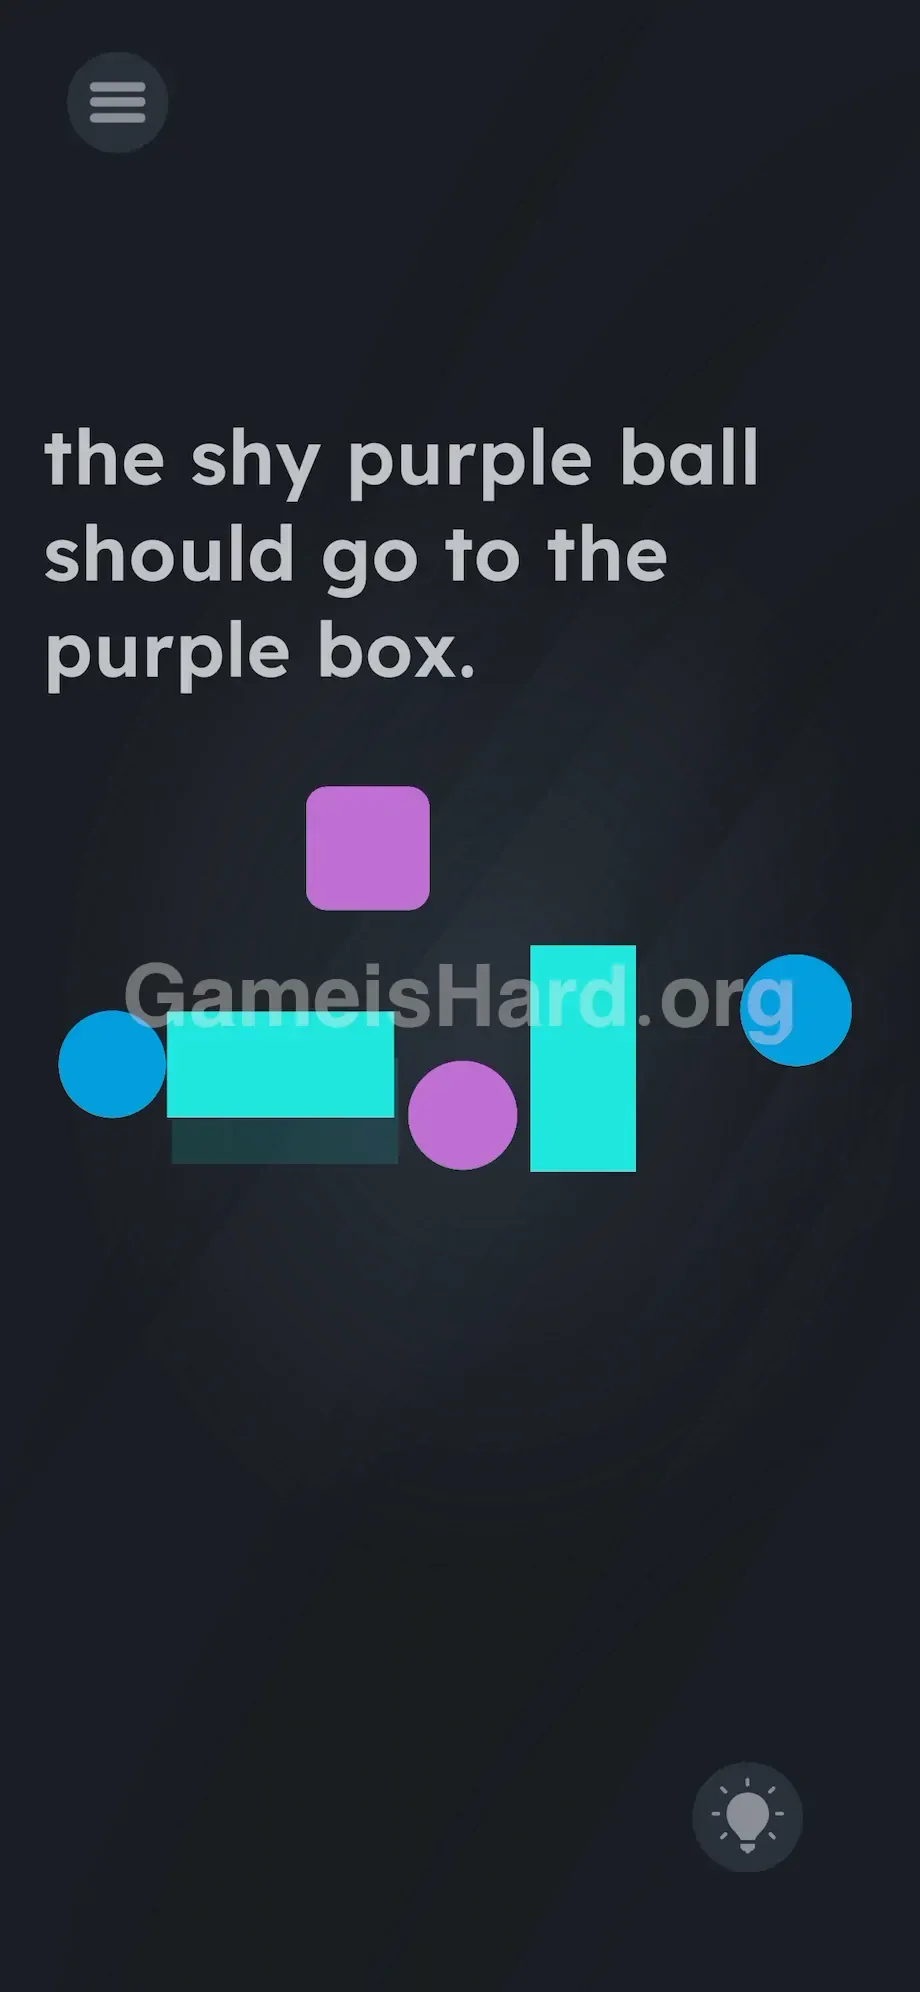
- Grab the first cyan rectangle and drag it vertically next to the left blue ball , positioning it to fully cut off its forward-facing line of sight.
- Grab the second cyan rectangle and place it vertically beside the right blue ball , mirroring the first shield’s placement.
- Now drag the purple ball slowly upward through the narrow, shielded corridor between them.
- Pause before reaching the top edge of either rectangle—getting too close risks exposure.
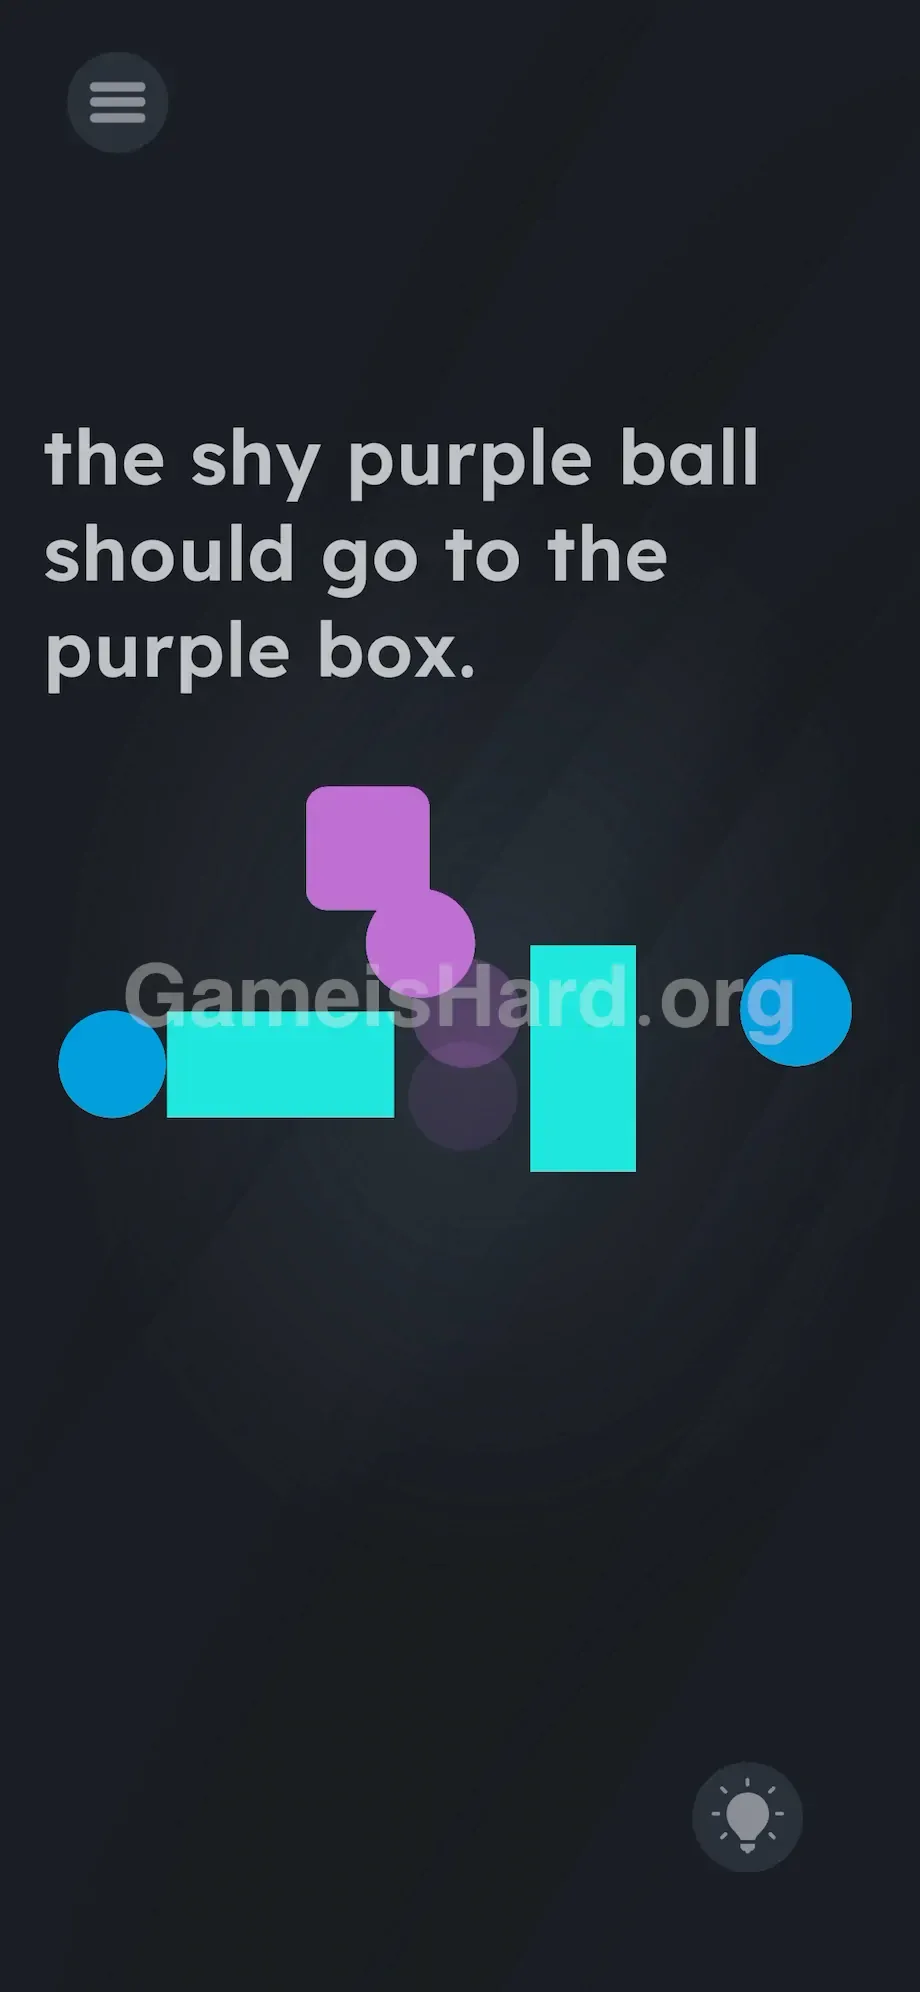
- Release the purple ball . Pick up one cyan rectangle and slide it higher to extend your cover upward.
- Bring the second cyan rectangle up to meet it, reinforcing the upper barrier.
- Resume moving the purple ball upward, staying centered within the protected zone.
- Once past both blue balls, drop the purple ball directly into the purple box .
If It Did Not Work
- The ball keeps resetting halfway: You’ve left a gap. Blue balls have wide, overlapping sight cones—ensure both cyan rectangles are snug against the center path and angled to eliminate blind spots.
- I can’t move the ball and shield simultaneously: You’re not meant to. Move the shield. Stop. Move the ball. Stop. Repeat. Break every action into deliberate, separate steps.
- Nothing happens when the ball lands on the box: It likely isn’t fully inside. Wiggle it gently until it settles dead-center—the win condition requires precise placement.
- A shield snaps back unexpectedly: You lifted your finger too close to the screen edge. Keep drags tight, controlled, and fully committed.
Why This Solution Works
This level rewards literal thinking. “Shy” isn’t descriptive—it’s mechanical. It triggers an actual visibility rule baked into the physics engine: if seen, reset. That principle echoes across the game—text isn’t just instruction, it’s environmental law. You’re not solving a puzzle with the UI; you’re solving a puzzle about the UI. The developers expect you to default to brute-force dragging. This level punishes that instinct—and rewards thoughtful, environment-first strategy. Shapes aren’t props—they’re tools with absolute blocking power.
Bonus Tip
Don’t bother trying to drag the instruction text. Some earlier levels let you repurpose words—but not this one. The prompt is locked down. Focus only on the movable shapes.
- Position both cyan rectangles as your first move—before ever touching the purple ball.
- Keep the purple ball centered in the vertical corridor at all times.
- Raise your shields incrementally, matching each small lift of the ball.
- Never expose the purple ball without active cover.
Frequently Asked Questions
Why does the purple ball suddenly jump back to the bottom? It’s never random. One of the blue balls registered visual contact. Success demands uninterrupted line-of-sight obstruction—every pixel matters.
Can I use the on-screen text to block vision? No. In Game Is Hard Level 224, the phrase “the shy purple ball should go to the purple box” is static and non-interactive. Only the cyan rectangles and purple ball respond to touch.
Do I need both cyan rectangles? Technically, you could try shuttling one back and forth—but the timing window is razor-thin and error-prone. Using both creates a stable, low-risk pathway. Play smart, not fast.
What if the purple ball won’t follow my finger smoothly? Close and relaunch the app. Rapid multi-touch attempts can trigger input ghosting—a known quirk in this version. A quick restart clears it instantly.
More Game Is Hard Solutions
Stuck on the next puzzle? We break down every step—no filler, no fluff, just the exact taps and drags that win. Our guides cut straight to what works.
Share this walkthrough with your friends on Discord or Reddit when they hit a wall. Keep pushing forward.