App updates can sometimes shuffle the order of puzzles. If this level 88 walkthrough doesn't match your screen, don't worry! You can browse our All Levels guide to find your exact puzzle by its picture.
You need to arrange a path first, then perform a quick reaction move at the very end.
Level Overview
What Makes This Puzzle Tricky
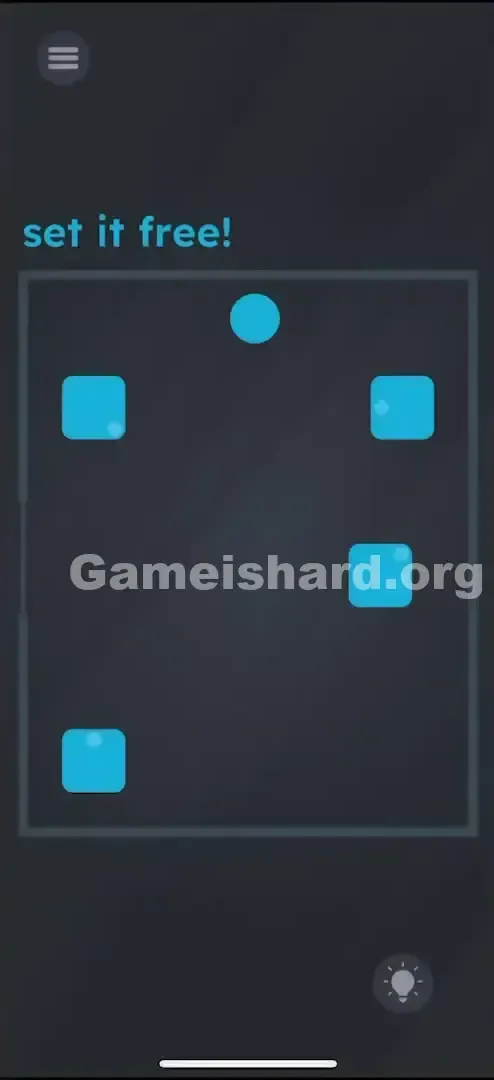
You’re faced with a box containing a ball and four blue squares—and the bold instruction “set it free!” At first glance, there’s no visible exit or obvious way to release the ball. Trying to drag the ball toward the walls leads nowhere—it just bounces back or resets. The puzzle feels like a physics challenge, but the behavior only makes sense once you align all elements correctly for a precise chain reaction.
Your Goal
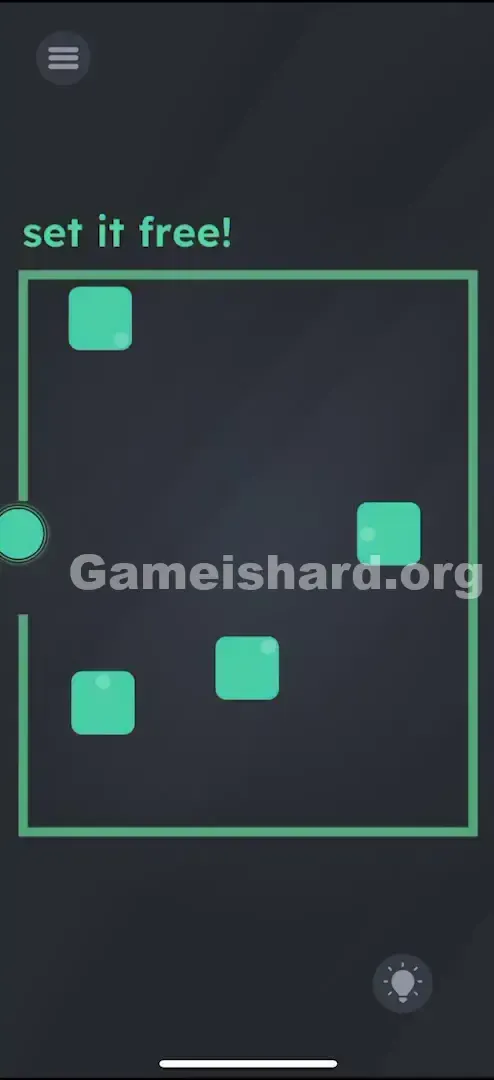
Your mission is to get the ball to strike all four blue squares in one continuous run. Only after hitting every square does the left wall unlock as an exit. But unlocking isn’t enough—you must manually clear the final obstacle before the ball reaches that newly opened path.
Key Mechanics
- Drag & Drop: Move the blue squares freely within the box.
- Directional Logic: Each square has a subtle arrow showing exactly where it will redirect the ball.
- Timing / Reflexes: The last action happens mid-motion—you’ll need to act fast once the door opens.
- Sequence Building: All four squares must be hit—no repeats, no skips. Missing even one keeps the exit sealed. It’s not a design flourish. It’s functional. That arrow tells you exactly how that square behaves—ignore it, and the puzzle won’t work.
What Appears on Your Screen
A dark grey background frames a lighter grey square—the main play area.
- Top Center: The phrase "set it free!" appears in bold blue text.
- Inside the Box: One blue circle (the ball) sits centered at the top. Four blue squares are scattered nearby.
- One Blue Circle (Ball) at the top center.
- Four Blue Squares .
- The Details: Look closely—the squares aren’t plain. Each carries a faint, light-blue directional indicator (a triangle or arrow) pointing Left, Right, Down, or Up.
- The Walls: The left side of the box looks subtly different—like a hidden gate—but remains closed until triggered.
Common Mistakes to Avoid
The Trap
Many players assume the squares are just passive bumpers or obstacles. They try dragging the ball directly toward the wall—or scatter the squares randomly hoping for a lucky ricochet. The real clue is hiding in plain sight: those tiny arrows are easy to overlook, especially on dimmer screens or if you’re rushing.
First Instincts That Fail
- Tilting the phone: This game doesn’t use motion controls—tilt has zero effect.
- Tapping repeatedly: Dropping the ball early without setup just resets progress.
- Overlooking arrow direction: These aren’t decorative—they define the ball’s trajectory. A square doesn’t bounce; it launches.
Player Reactions
I wasted several tries just dropping the ball and watching it thud lifelessly at the bottom. I thought maybe I had to catch it mid-air or swipe it sideways. When I finally realized the exit only triggers after all four squares are hit, I felt embarrassed. And then failing the final move—because I hesitated just half a second—was the perfect finishing touch.
Step-by-Step Solution
Preparing the Move
Before tapping anything, study each square’s arrow. Your job is to build a logical flow from start to finish.
- Identify the square that points Right .
- Identify the square that points Down .
- Identify the square that points Left .
- Identify the square that points Up (or toward the exit zone).
Executing the Solution
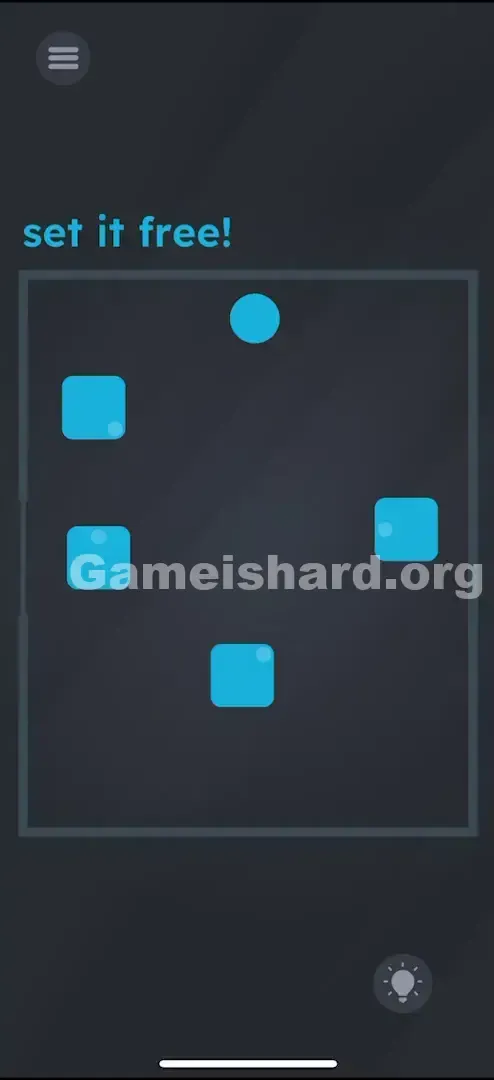
- Arrange the Chain: Position the squares so the ball hits them in order. A diamond or rectangle layout often works best. Place the first square directly under where the ball drops. Its arrow must aim at the second square. The second’s arrow must aim at the third . The third’s arrow must aim at the fourth . Crucial: The final square (the fourth one) usually points toward the left wall (the exit).
- Place the first square directly under the ball drop point.
- The arrow on that first square must point to the second square.
- The arrow on the second square must point to the third .
- The arrow on the third must point to the fourth .
- Crucial: The final square (the fourth one) usually points towards the left wall (the exit).
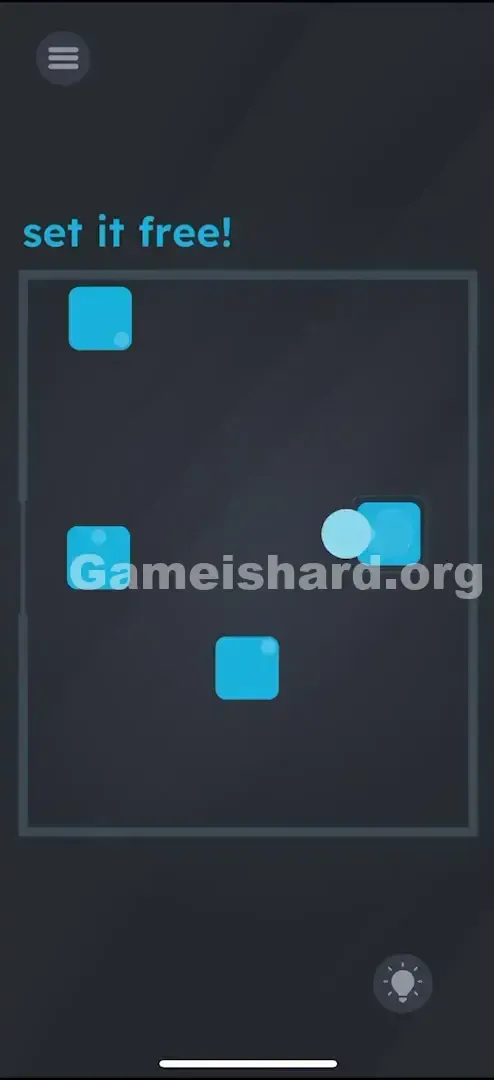
- Start the Run: With everything aligned, tap the ball . It falls, strikes square one, and launches toward square two.
- The Reflex Move: Keep your eyes on the ball—and the left wall. As soon as it hits the fourth square , the left wall vanishes.
- Clear the Path: That same fourth square now blocks the exit. Instantly drag it aside so the ball sails cleanly through the opening.
If It Did Not Work
- Ball misses a square: Adjust the position of the square that sent the ball—not the one it missed. If square 1 sends wide, nudge square 1 slightly.
- Door doesn't open: The ball skipped or double-hit a square. Ensure all four are struck once, in any order—but connected logically.
- Door opens, but ball hits the wall: You moved too slowly—or placed the final square too close to the exit, leaving no clearance.
Why This Solution Works
This level blends sequential logic with real-time interaction. Unlike most puzzles here, success depends on both careful planning and split-second execution. You’re not just solving—you’re orchestrating.
It also redefines the squares: they’re not scenery, but active components—like function nodes in code. The requirement to visit all four before unlocking mirrors classic graph traversal problems used in programming logic.
Bonus Tip
- Hold off on tapping. Use every second to fine-tune placement.
- Trace the route with your finger first. Does arrow A aim at B? Does B aim at C?
- Once the ball’s in motion, stop watching it—focus on the left wall. The moment it disappears, move the final square.
Frequently Asked Questions of Game Is Hard Level 88 (Short, Useful)
Q: Can I rotate the blue squares in Game is hard Level 88? A: No. Their direction is locked—you control only their location.
Q: Why does the ball stop after hitting a square in Game is hard Level 88? A: It shouldn’t. If it drops straight down or halts, it likely didn’t make clean contact with the arrow’s intended side—or alignment is slightly off.
Q: The door opened but the ball bounced back inside in Game is hard Level 88! Why? A: The final square is still in the way. You must remove it immediately after the ball bounces off it and heads for the exit—not before, not after it stalls.
Q: Is there a specific order for the squares in Game is hard Level 88? A: Yes. All four must be hit—but the counter only cares about total hits. Physics forces a 1→2→3→4 flow to keep momentum going.
More Game Is Hard Solutions
That’s the complete solution for Level 88. These guides are built to break through mental blocks fast—so you stay in the flow. If this helped you crack the code and set the ball free, pass it along to fellow puzzle solvers. We decode every trick the game throws your way. Good luck on Game is hard Level 80 !