App updates can sometimes shuffle the order of puzzles. If this level 20 walkthrough doesn't match your screen, don't worry! You can browse our All Levels guide to find your exact puzzle by its picture.
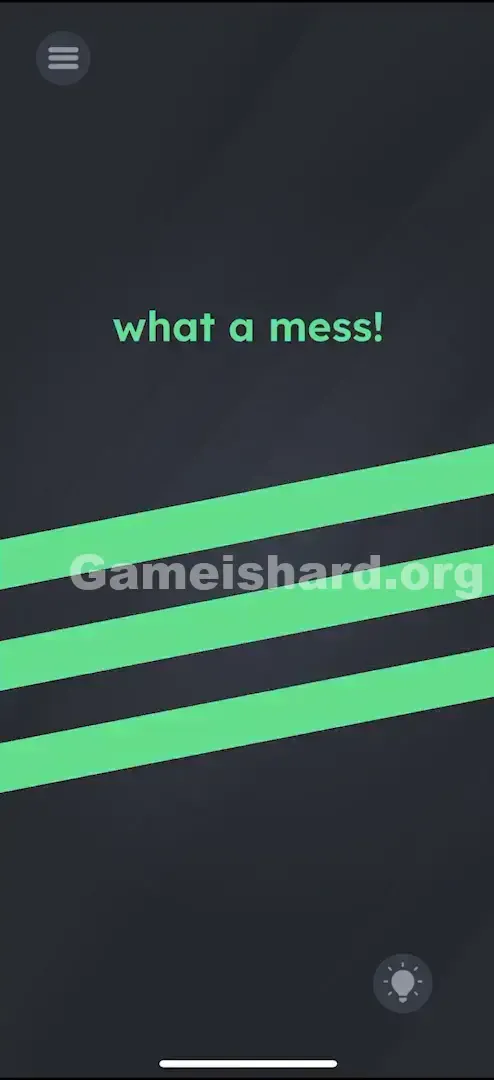
Focus on arranging the blocks into three diagonal stripes that increase in height from left to right.
Level Overview
What Makes This Puzzle Tricky
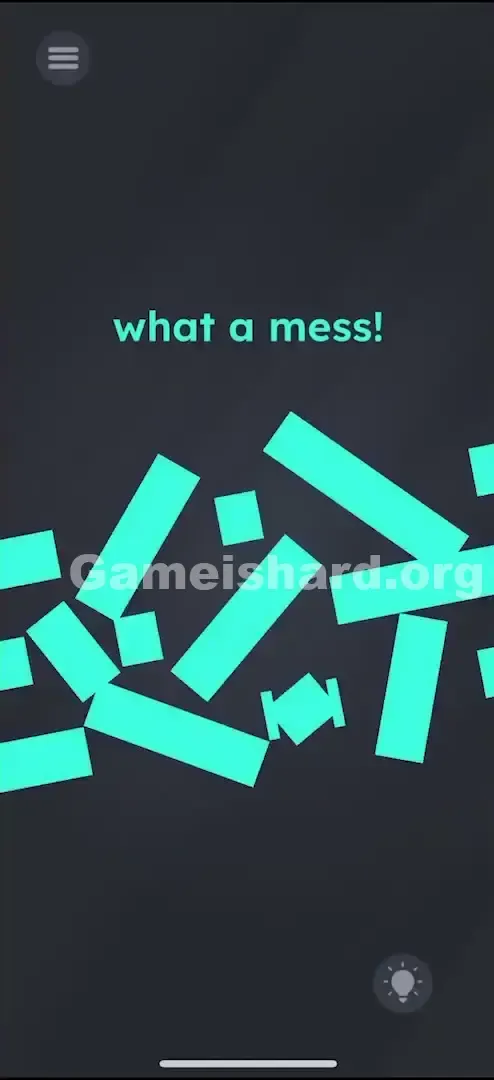
You land on Game is hard Level 20 and immediately hit visual overload. The screen flashes “what a mess!” — and yes, it really is chaotic. A burst of turquoise geometry fills the screen: jagged rectangles, compact squares, and irregular trapezoids litter the dark background. It feels less like a puzzle and more like cleaning up after a UI explosion — instantly triggering that deep-seated urge to sort, align, and tidy.
Your Goal
This isn’t about decoding words or tapping hidden triggers — it’s pure spatial reconstruction. Your goal is to rebuild a single cohesive shape from broken pieces. The phrase “what a mess!” sets the tone, but it’s not part of the solution — it’s just flavor. You’re solving a silent, visual jigsaw where every fragment belongs.
Mechanics at Play
- Drag & Drop Physics: Move each piece freely with full positional control.
- Auto-Rotation/Snap: Orientation adjusts automatically as you drag — no manual rotation needed.
- Hidden Shape Assembly: No outline or reference image is shown; you must deduce the target shape from edge angles and proportions.
- Merge Mechanics: When two compatible pieces get close enough, they snap together seamlessly — your main cue that you’re on the right track. It’s not a typo. It’s a build site — and you’re the architect.
What Appears on Your Screen
Let’s cut through the clutter so nothing slips past you.
- Top Center: The phrase “what a mess!” appears in crisp turquoise text — same hue as all puzzle pieces. This isn’t random; it’s a subtle visual thread tying text and object together.
- The Debris Field: Roughly 8–10 sharp-edged shapes dominate the lower two-thirds of the screen. They vary widely in size and silhouette.
- There are long, thick rectangles.
- There are smaller, chunky squares.
- There are odd trapezoidal bits.
- The Color Palette: Every interactive element shares the exact same vibrant turquoise shade. That uniformity removes color-based clues — forcing you to rely solely on shape and angle.
- The Background: Deep black or near-black. High contrast helps define edges clearly, but the absence of gridlines or alignment aids makes precision trickier.
Common Mistakes to Avoid
The Trap
The biggest mental snag? Assuming language drives the logic. Because the prompt says “mess,” many players instinctively try to spell words (“CLEAN”), reconstruct letters, or even fix the text itself. One tester spent over 90 seconds trying to force an “H” out of the longest pieces — it won’t work. The trap is linguistic; the answer is purely geometric.
First Instincts That Fail
- Shaking the phone: Some expect physics-based cleanup like in other games. Nope — shaking does nothing.
- Tapping furiously: Taps won’t rotate or reposition pieces. Only dragging works — and rotation happens automatically.
- Looking for hidden tools: Players often scan corners for icons like brooms or magnets. There are none. Your finger is the tool.
Player Reactions
I stared, frustrated, convinced the game glitched — “Why won’t these snap?” I kept stacking pieces vertically, chasing symmetry. Then, by accident, I dragged one diagonally across another… and they fused. That’s when it clicked: I wasn’t building a tower — I was assembling a logo.
Step-by-Step Solution
Preparing the Move
Stop treating this like a word puzzle. Study the angled ends of the rectangles — they’re cut on a slant, not square. That tells you the final shape leans. You’re not making one structure — you’re crafting three distinct, parallel bars.
Executing the Solution
- Isolate the Pieces: Pull every fragment away from the center to create breathing room. Overlapping pieces only adds confusion.
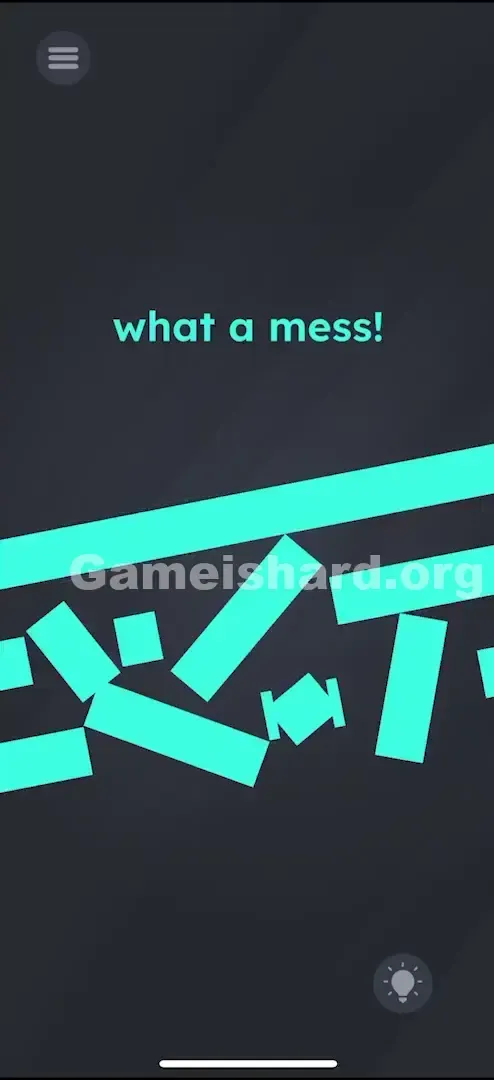
- Identify the Groups: Sort them by length — they naturally fall into three clusters that map directly to the final bars: Short pieces (for the left bar). Medium pieces (for the middle bar). Long pieces (for the right bar).
- Short pieces (for the left bar).
- Medium pieces (for the middle bar).
- Long pieces (for the right bar).
- Construct the Tallest Bar: Grab the longest fragments first. Bring them near each other slowly — circling slightly often triggers the correct rotation. When aligned, they’ll merge cleanly.
- Watch for the Merge: A seamless join means perfect fit — no gaps, no seams.
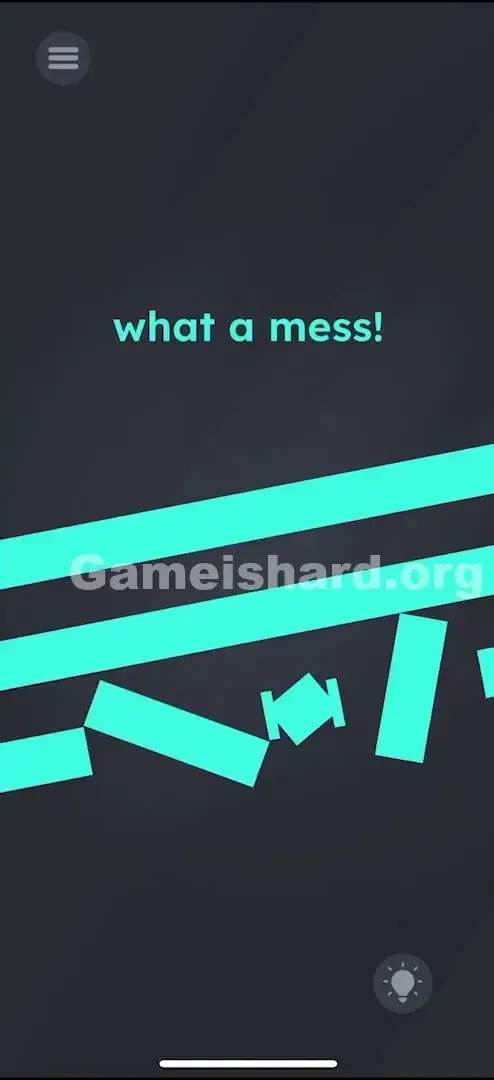
- Build the Other Two: Once the tallest bar is solid, assemble the medium-length bar to its left, then the shortest to the far left.
- Final Alignment: Position all three completed bars side-by-side, parallel and evenly spaced. Left: Shortest. Middle: Medium height. Right: Tallest. Tip: Think of a slanted signal-strength icon — or the iconic triple stripe on a well-known sportswear brand.
- Left: Shortest.
- Middle: Medium height.
- Right: Tallest.
- Tip: Think of a cell phone signal icon, but slanted. Or the stripes on a certain brand of sneaker.
If It Did Not Work
If the level doesn’t complete despite having three bars:
- Check spacing: Gaps between bars should be consistent — too wide or too narrow breaks the pattern.
- Verify parallelism: Even a slight tilt in one bar will prevent recognition. Zoom in if needed.
- Hunt for stragglers: Tiny leftover shards sometimes hide behind larger pieces. Slide bars aside to reveal anything lurking beneath.
Small Details That Matter
The controls feel responsive — but require finesse. Here’s how to master them:
- The "Magnetic" Snap: Snap range is generous, but angle matters. If a piece slides off instead of locking, try approaching the connection point from another direction.
- Rotation is Automatic: No pinch-to-rotate needed. As you drag near its match, the piece rotates itself to fit — even flipping upside-down if required.
- Ordering: You can build bars in any sequence, but working in open space first — then positioning them side-by-side — avoids crowding and misalignment. I cracked it by clearing the center entirely — dragging all pieces to screen edges first. With clean space in the middle, the slant direction of each piece became obvious, revealing natural top/bottom roles.
Why This Solution Works
This level tests Gestalt perception — your brain’s ability to see unity in disorder. It takes a familiar symbol (three parallel diagonal stripes), fractures it, and challenges you to reverse-engineer it without hints.
It also leans into “instructional misdirection”: the phrase “what a mess!” evokes emotion, not mechanics. The real puzzle lives in angles and adjacency — closer to tangrams than riddles.
Bonus Tip
If two pieces resist snapping, they’re not meant to connect.
- Let go of the current piece.
- Try pairing it with something else.
- Correct matches lock in instantly — almost like magnets. Struggling means mismatch.
Also, pay attention to flat edges — the top and bottom of each finished bar must be perfectly horizontal (even though sides slant). Use pieces with straight, level ends as your top and bottom caps.
Alternative Attempts on Game Is Hard Level 20 (What Doesn’t Work, and Why)
Here are dead ends we tested — so you skip them entirely:
- Dragging the “what a mess!” text anywhere. (It’s static decoration — not interactive.)
- Pinching to zoom. (Camera is locked — no extra pieces exist off-screen.)
- Turning the device upside down. (No gravity mechanics active here.)
- Waiting for events. (No timer, no animation — nothing changes passively.)
- Double-tapping pieces. (Only drag input is recognized.)
- Forcing all pieces into one long line. (They’re sized for three separate bars — not one continuous strip.)
Common Mistakes for Game Is Hard Level 20
- Cross-bar mixing: Attaching a medium-length piece to the tall bar seems plausible — but tiny differences in angle or width block merging.
- Ignoring micro-pieces: One stray pixel-sized shard left floating breaks completion. Every turquoise fragment must be placed.
- Aligning too early: Trying to position bars before fully assembling them leads to crowding and missed connections.
- Overlapping: Stacking hides pieces and prevents proper merging. Keep everything spread out until final placement.
Pattern Recognition: How to Spot This Trick in Future Game Is Hard Levels
The Tell
When you see a screen full of same-colored geometric shards — no text-based clues, no hidden buttons — you’re in a Reconstruction Level. Wordplay is off the table; visual assembly is in.
The Habit
Start by spreading pieces outward — toward screen corners. Then scan for:
- Corner pieces (smooth on two adjacent sides).
- End caps (flat, straight edges — ideal for bar tops/bottoms).
- Connectors (jagged or angled on both ends — built for linking). Treat it like a physical jigsaw: solve the frame first, fill in the center later.
Game Is Hard Level 20 FAQ (Short, Useful)
Q: Is there a specific order the bars need to be in? A: Yes. They usually need to be arranged by height. Shortest on the left, tallest on the right (ascending).
Q: Do I need to rotate the pieces with two fingers in Game is hard Level 20? A: No. Just dragging them near their connecting partner will auto-orient them.
Q: My pieces won't stick together in Game is hard Level 20! A: You likely have mismatched pieces. Try connecting that piece to a different shard. The "snap" is very obvious when it's correct.
Q: What is the shape supposed to be in Game is hard Level 20? A: It is three diagonal, parallel stripes. Think of the Adidas logo.
More Game Is Hard Solutions
Stuck on the next puzzle? We’ve got straight-to-the-point guides for every single level. No fluff, just the solution you need to stop raging and start winning. Bookmark us and keep your win streak alive!