
App updates can occasionally shift puzzle order. If this level 142 guide doesn’t match what you’re seeing, no stress! Head to our All Levels directory and locate your exact puzzle by image.
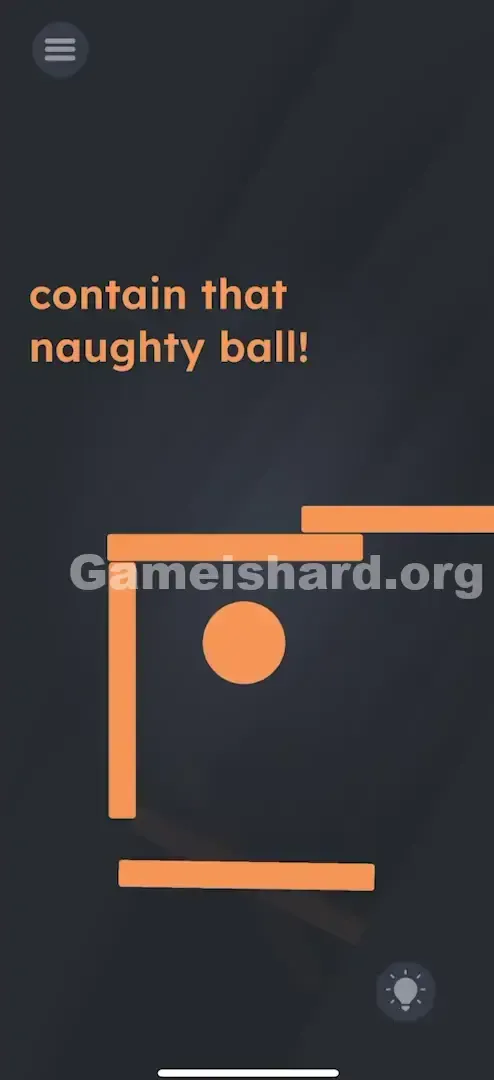
Make sure the corners of your square touch so the ball cannot escape.
Level Overview
What Makes This Puzzle Tricky
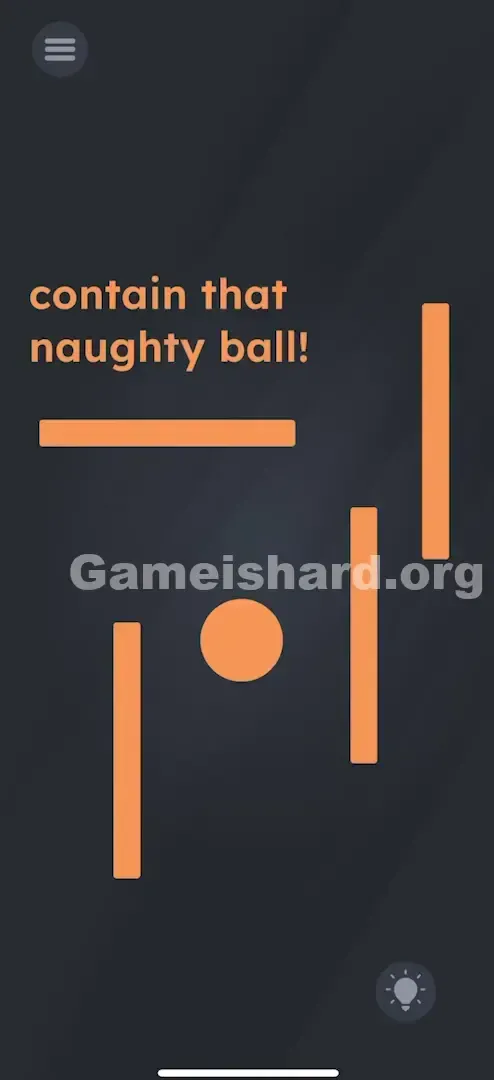
You’re greeted with a lone orange ball and four loose orange bars floating in space. The prompt shouts “contain that naughty ball!”—but dragging without adjusting orientation usually leads to messy, ineffective arrangements. It’s like trying to assemble a cage from floppy sticks when they need to lock into place.
Your Goal
Your mission is to construct an airtight enclosure—a flawless, closed square that traps the ball completely. This isn’t about proximity; the game checks for full containment. Even the tiniest opening means the ball can roll free—and the level won’t register as solved.
Key Mechanics
- Tap to Rotate: This subtle interaction is easy to miss. Many players jump straight to dragging.
- Drag & Drop: You’re free to reposition each bar anywhere on screen.
- Collision Detection: The engine verifies whether the ball is fully bounded on all sides. It’s less about shape—and more about security.
What Appears on Your Screen
The scene features a dark grey backdrop. At the top, bold orange text reads: contain that naughty ball!
Below it, you’ll find:
- A single solid orange circle—the ball—centered on screen.
- Four identical orange rectangular bars .
- Initially scattered: one bar lies horizontally, while the others are likely vertical (or vice versa, depending on prior taps). They resemble uncooperative puzzle pieces waiting for direction. No buttons, timers, or boundaries appear—just raw materials and the challenge.
Common Mistakes to Avoid
The Trap
The main stumbling block is assuming bars stay locked in their starting orientation. Players often try stacking vertical bars into a tall, narrow pen—or pushing them against screen edges—neither of which satisfies the enclosure rule. Remember: the screen border has zero physical presence here.
First Instincts That Fail
- Using the screen edge: Placing bars flush against your phone’s frame hoping it acts as a wall. The ball simply floats past.
- Dragging the ball: The ball is immovable—you must build around it, not move it.
- Shaking the device: A go-to trick in other levels, but totally ineffective here.
Player Reactions
I wasted nearly a minute stacking bars like unstable Jenga blocks, convinced squeezing two vertical ones together would do the trick. Instead, the ball slipped out the top—smooth as ice. Lightbulb moment came when I tapped a bar and watched it spin. Felt silly—but relieved.
Step-by-Step Solution
Preparing the Move
Pause before touching the ball. First, assess the four orange bars. To build a square, you’ll need two upright (vertical) bars and two flat (horizontal) bars—one pair for left/right walls, the other for top/bottom.
Executing the Solution
- Tap each bar individually. Each tap rotates it 90°.
- Align two bars vertically (standing tall).
- Align the remaining two horizontally (lying flat).
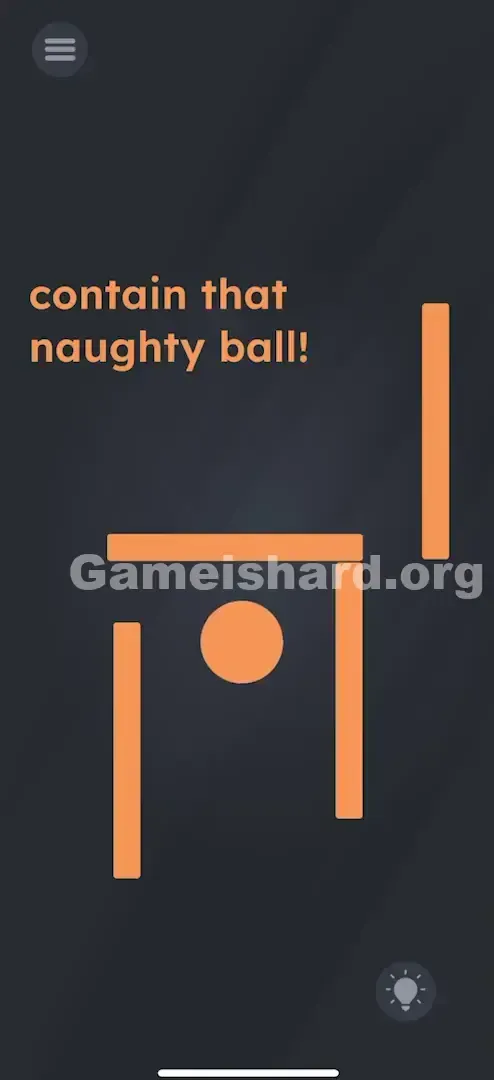
- Drag them around the orange ball to create a snug, four-sided enclosure.
- Fine-tune placement until corners meet or slightly overlap. Any visible gap tells the game the ball still has an exit route.
If It Did Not Work
- Level not completing? Your square is too loose—nudge the bars inward toward the ball.
- Still seeing gaps? Double-check that all four sides are present and properly oriented—no missing corner.
- Ball drifting during placement? You may be nudging it accidentally. Just reposition the bars gently around its new location.
Why This Solution Works
This level challenges your assumption that movement is the only interaction. Like many puzzles in Game Is Hard, critical actions hide in plain sight—here, tapping unlocks rotational control.
Under the hood, the game runs a simple containment check: Is the ball fully bordered by collider objects on north, south, east, and west? Yes = victory. It pushes you to treat tools as customizable—not just movable.
Bonus Tip
- Tap first—rotate before relocating.
- Lock in your 2-vertical / 2-horizontal configuration early.
- Build tight —precision matters more than speed.
- Forget screen edges—they’re invisible to the physics engine here.
Frequently Asked Questions
Q: Can I use the edge of the screen as a wall? A: No. The screen boundary isn’t recognized as a barrier in this level. You must enclose the ball using only the four provided bars.
Q: Why won't the bars rotate? A: Ensure you’re tapping cleanly—not holding or swiping. A slow press may trigger drag instead of rotation.
Q: The ball keeps sliding away when I move the bars! A: You’re likely brushing against it while positioning. Place bars deliberately around the ball instead of pushing into it.
Q: Do the corners have to be perfect? A: Not mathematically exact—but if you can spot even a sliver of space between bars, the game treats it as an escape route.
More Game Is Hard Solutions
If this guide helped you finally cage that mischievous ball, explore our full walkthrough library. We cut through confusion and deliver clean, actionable answers—so you spend less time stuck and more time playing. Share this with anyone still rattling their phone on Level 142!