App updates occasionally reorder puzzles. If this level 157 guide doesn’t match what you’re seeing, no stress! Flip through our All Levels directory to spot your exact puzzle by image.
It’s the only triangle angled precisely to strike another, ricochet, and ultimately drive the last one into the vertical wall .
Level Overview
What Makes This Puzzle Tricky
At first glance, this feels like a geometry quiz—or maybe a physics-based mini-golf challenge. Triangles point in every direction, and a solid orange bar sits along the right edge. Tap any triangle at random, and it zips off-screen, ending the level. Try another, and it sails into empty space. It seems like you need measuring tools—but really, you just need to spot the single triangle that sets everything in motion.
Your Goal
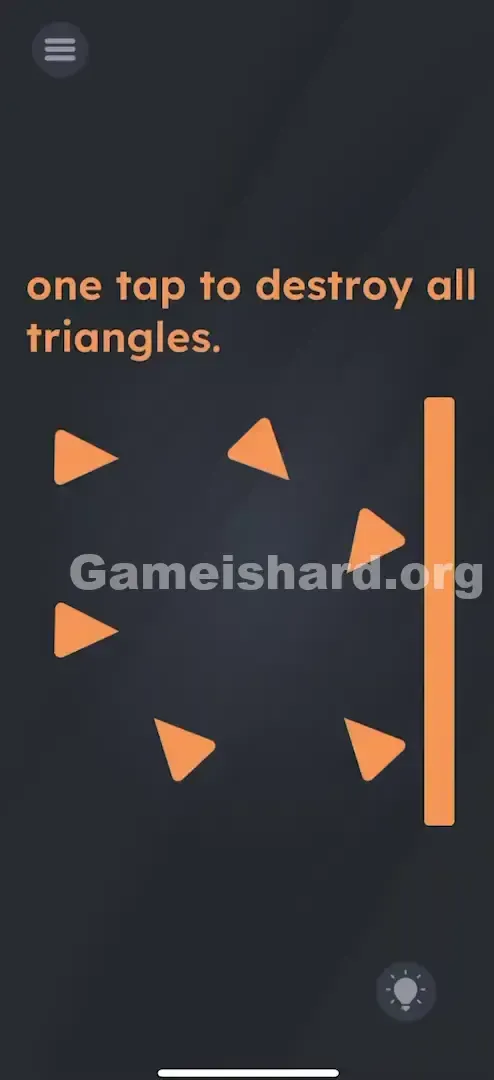
Your mission is straightforward: eliminate every orange triangle with just one tap . That means triggering a perfect cascade—each triangle hits the next, domino-style, until the last one meets its end.
Key Mechanics in Game is hard Level 157:
- Physics/Trajectory: Every triangle moves straight in the direction it’s facing.
- Chain Reaction: Collisions instantly destroy both involved triangles.
- One-Shot Limit: You get exactly one chance—no retries mid-level.
- The Wall: That vertical bar isn’t set dressing—it’s the final target needed to finish the chain. It’s not a mistake. It’s essential.
What Appears on Your Screen
The layout is minimal and focused:
- The instruction: "one tap to destroy all triangles."
- Six Orange Triangles: Positioned across the left and center, each rotated uniquely (up, down-left, right, etc.).
- One Orange Vertical Bar: Anchored on the far right—acts as a boundary and impact target.
- Standard UI elements: menu button (top-left) and hint icon (bottom-right).
Common Mistakes to Avoid
The Trap
The real hurdle is “Tap-and-Fail Fatigue.” With six triangles, there are six possible starting points—and five of them lead straight to failure. Repeated misses make players second-guess whether there’s some hidden interaction (like swiping text or tilting the device), when in fact the answer relies purely on angle awareness.
First Instincts That Fail
- Dragging the wall: Many attempt to reposition the orange bar to intercept flying triangles. It’s fixed—won’t budge.
- Multitouch attempts: Tapping two triangles simultaneously to force a crash resets the level immediately.
- Tapping the instruction text: While text often plays a role elsewhere in the game, here it’s purely informational.
- Waiting for movement: Triangles stay still until tapped—they won’t shift, rotate, or drift on their own.
Player Reactions
I wasted way too much time trying to drag and reposition triangles manually. My brain kept insisting, “There’s got to be aiming involved!” Nope—their fixed angles are the clue. I felt silly once I realized the puzzle wasn’t about control—it was about reading the setup.
Step-by-Step Solution
Preparing the Move
Skip the trial-and-error phase. Instead, scan each triangle’s orientation. Your goal is to find the “first domino”—the sole triangle aimed directly at another. Most point into open space or beyond the screen. Only one initiates a valid sequence.
Executing the Solution
- Locate the bottom-right triangle . It sits low in the center-right area, slightly below the cluster, and faces diagonally up and to the left .
- Tap that triangle—once, firmly.
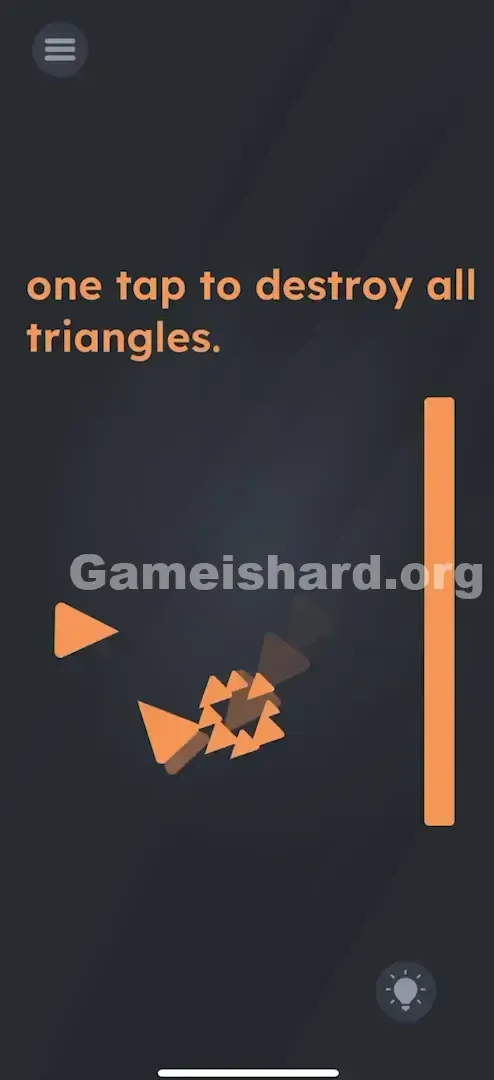
- Watch the cascade unfold: it launches upward, strikes the triangle above it, which then fires toward the next, building a zig-zag chain.
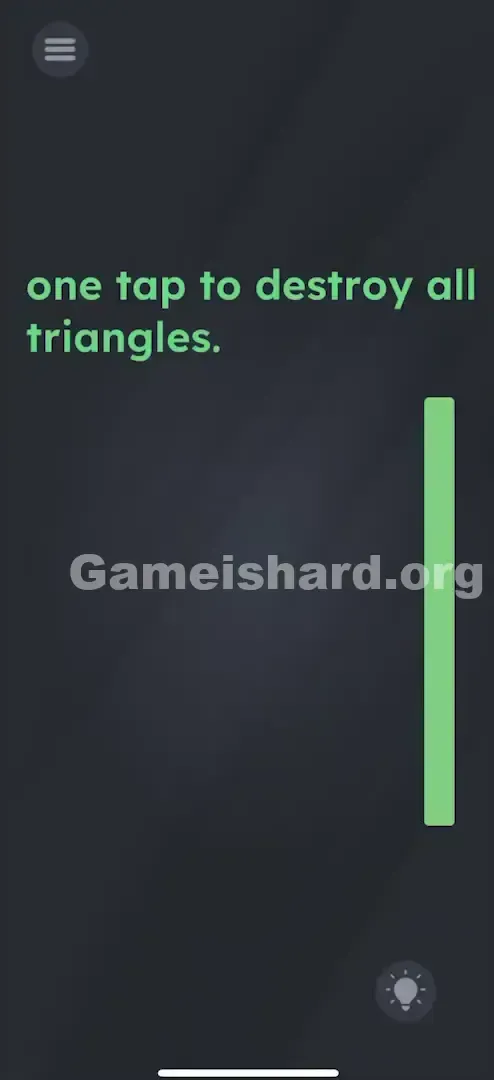
- The final triangle in line slams head-on into the orange vertical wall on the right—completing the level.
If It Did Not Work
- Nothing happens? Ensure your tap is decisive—not a light brush. A weak press may not register as a launch command.
- Only one triangle vanishes? You selected the wrong starter. If a triangle flies off without hitting anything, the level ends—restart and try again.
- Chain breaks early? This shouldn’t occur under normal conditions. If it does, close and relaunch the app to reset the physics engine.
Why This Solution Works
This level ditches wordplay entirely and doubles down on spatial reasoning. Think of each triangle as a rigid projectile—fired only along its pointed axis.
Essentially, it’s a reverse-engineering puzzle: mentally trace each path backward from the wall:
- Triangle A aims into void (invalid start).
- Triangle B aims into void (invalid start).
- Triangle C aims directly at Triangle D (valid start). It rewards careful observation over speed—and punishes blind tapping with full restarts. The solution isn’t cleverly hidden—it’s clearly aligned, waiting for you to notice.
Bonus Tip
For speedrunners or anyone tired of guessing:
- Skip the instruction text—it’s not interactive.
- Don’t fuss with the wall—it’s unmovable.
- Zero in on the lowest, rightmost triangle.
- Tap it—once.
- Keep your fingers still until the “Level Cleared” animation finishes.
Frequently Asked Questions
Q: Can I move or adjust the wall on the right? A: No—it’s locked in place. Its sole purpose is to stop the final triangle so it self-destructs instead of escaping.
Q: Does tapping multiple times quickly help? A: No. You’re limited to one tap. The instant you tap, the chain begins—no follow-ups allowed.
Q: Why do triangles vanish on contact? A: Collision equals instant destruction here—treat them like guided missiles, not bouncing balls.
Q: Is there a secret object or hidden element? A: Everything you need is visible from the start—no secrets, no Easter eggs.
More Game Is Hard Solutions
We update these guides regularly so you spend less time stuck and more time playing. If this walkthrough helped you break through the triangle chain, pass it along to friends who’ve been frantically tapping away. Head to the main site for level 158—it only gets more inventive from here.