App updates can sometimes shuffle the order of puzzles. If this level 114 walkthrough doesn't match your screen, don't worry! You can browse our All Levels guide to find your exact puzzle by its picture.
Level Overview
What Makes This Puzzle Tricky
You start the level with three orbiting systems and a solid purple box. The prompt “break the box” feels straightforward—until you tap it and nothing happens. Trying to drag individual planets just makes them wobble back into place. It’s frustrating at first: everything moves, but nothing seems powerful enough to break anything. That helplessness is intentional—the game sets you up to feel powerless… until you discover how to harness gravity itself.
Your Goal
Your mission is simple: destroy the purple square on the right side of the screen. But your current tools—the tiny orbiting dots—aren’t strong enough. To succeed, you’ll need to combine all available orbiting objects into a single, massive projectile before launching your final strike.
Key Mechanics
- Object Merging: Like Agar.io, smaller objects grow larger when they collide and stick together.
- Drag & Physics: You don’t control the orbiting dot directly—you move its center (the “sun”) and let physics do the rest.
- Collision Detection: Success depends on precise physical contact—not tapping or timing alone.
It’s not a bug—it’s a Katamari-style design choice.
What Appears on Your Screen
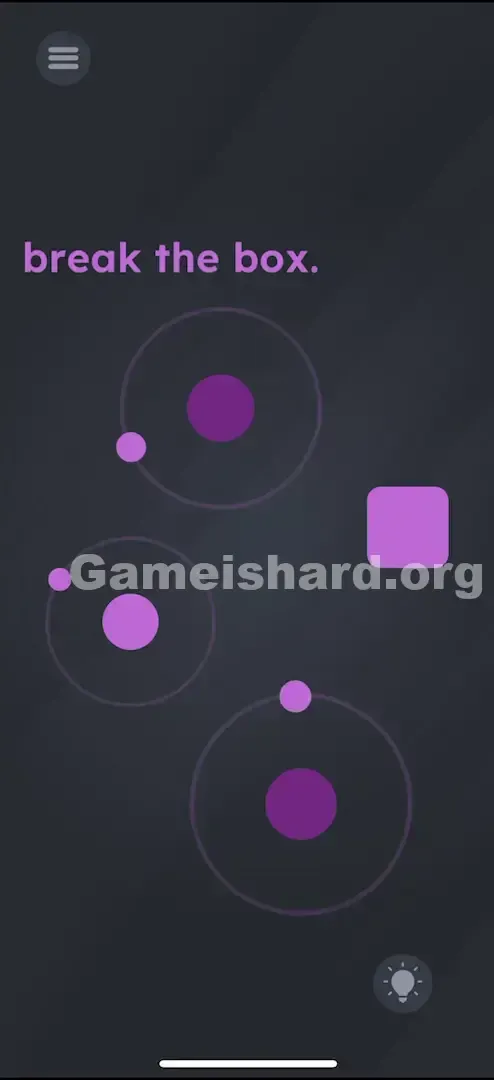
The background is a deep grey. At the top, purple text reads “break the box.”
Below it sit three loosely arranged orbital systems forming a triangle:
- Two orbits feature dark purple centers with small lighter dots circling them.
- One orbit—typically positioned near the middle-left—has a noticeably lighter purple center. This is your controllable element.
- A solid, stationary purple square sits on the far right.
All elements float freely, with each dot rotating steadily around its center.
Common Mistakes to Avoid
The Trap
The biggest stumbling block is “Orbit Confusion.” Many players instinctively try dragging the small orbiting dots toward the box—but they snap back into orbit instantly. Others attempt moving the dark purple centers, only to find them unresponsive or sluggish. The real interaction point is hidden in plain sight: only the lightest purple center responds to touch.
First Instincts That Fail
- Tapping the square repeatedly: No health bar, no animation—just silence.
- Swiping wildly: Throwing planets at the box results in harmless bounces—they lack mass to do damage.
- Shaking the device: A go-to move in many levels, but here it serves no purpose—and draws zero reaction from the game.
Player Reactions
I wasted nearly a minute lining up perfect orbital alignments, hoping one of the dots would swing into the box on its own. It was like watching a screensaver wait for the perfect bounce. Total time sink. The second I realized I could steal the other planets’ momentum by repositioning their suns, it clicked—and I laughed at how obvious it was.
Step-by-Step Solution
Preparing the Move
Spot the lighter purple center circle. Among the three orbital systems, two have dark purple centers—only one stands out with a soft lilac hue. That’s your active controller.
Executing the Solution
- Grab the Center: Press and hold that light purple center circle. Keep your finger steady—don’t lift.
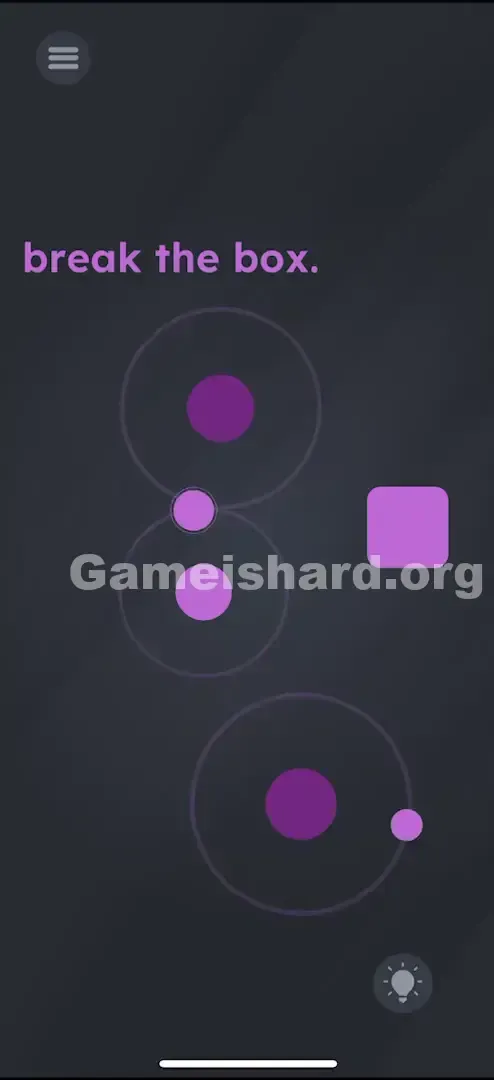
- Go Hunting: Slowly drag this center toward another orbit. Your goal is to get your orbiting dot close enough to collide with theirs.
- Merge: Once contact happens, the two dots fuse into a single, larger orb.
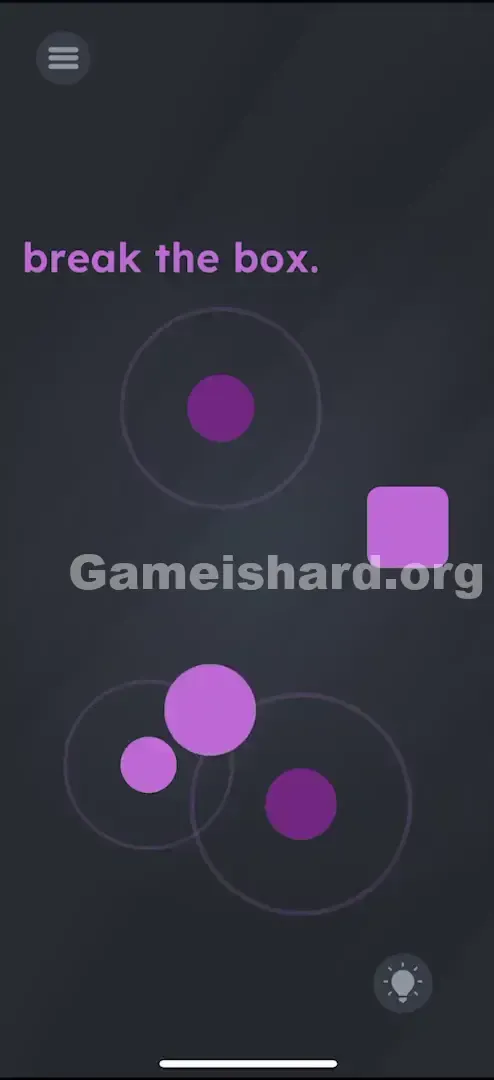
- Repeat: Now drag your upgraded center (with its medium-sized orb) to the last remaining orbit. Slam your growing orb into its satellite—now you’ve got one massive ball circling your center.
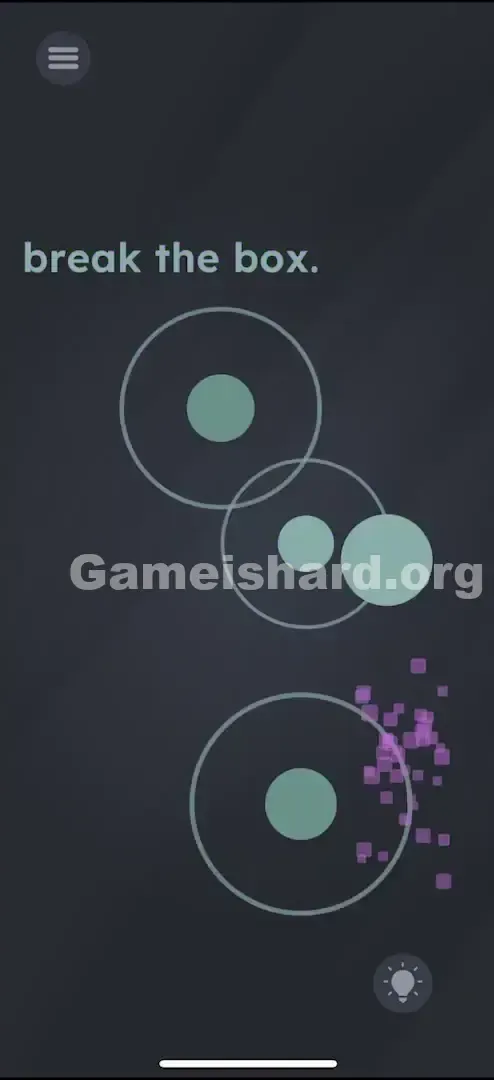
- The Kill: Position your center right beside the purple square so the huge orbiting ball swings cleanly into it on its next rotation.
Confirming It Worked
When impact occurs, the purple square fractures instantly into shards. Level complete.
If It Did Not Work
- "I can't merge them!" Remember—you’re moving the center, not the dot. Get the centers close, then wait for rotation to bring the dots together. Patience beats speed here.
- "The ball isn't breaking the box." Your orb isn’t large enough yet. You missed merging with one of the other satellites—go back and absorb both before attacking.
Why This Solution Works
This level tests visual literacy—specifically, how well you read UI cues. In interface design, lighter or brighter elements usually signal interactivity, while darker ones suggest static or background roles. The game quietly asks: Did you notice the color difference?
It also challenges your understanding of indirect control. You’re not the weapon—you’re the force guiding it. Moving the center instead of the dot adds deliberate physical resistance, making the final smash feel satisfyingly earned.
Bonus Tip
- Ignore the dark circles entirely—they’re immovable anchors, not tools.
- Watch the orbiting dots closely—not the centers—to time your collisions accurately.
- Move deliberately. Rushing causes overshoot; slow, steady drags give you better control over alignment.
Frequently Asked Questions
Why won't the box break in Game is hard Level 114? Your orb lacks sufficient mass. You must absorb both other orbiting dots before attempting the final hit.
Can I move the dark circles? No—they’re fixed in place. Only the light purple center responds to drag.
Does shake work on this level? Nope. Device shaking has zero effect here. This is purely about drag-based merging and physics.
Is there a specific order to merge them? Not at all. Whether you merge with the top or bottom orbit first, the outcome is identical—mass matters, not sequence.
More Game Is Hard Solutions
Stuck on the next one? We’ve got guides for every single level of Game is Hard. We cut the fluff and just give you the answer so you can get back to feeling smart. Send this to your friend who’s still tapping the box like a maniac.