App updates can sometimes reorder puzzles. If this level 82 walkthrough doesn’t match what you’re seeing, no stress! Just check our All Levels directory to locate your exact puzzle by image.
Follow the number pattern 3-2-4 shown at the top of the screen.
Level Overview
What Makes This Puzzle Tricky
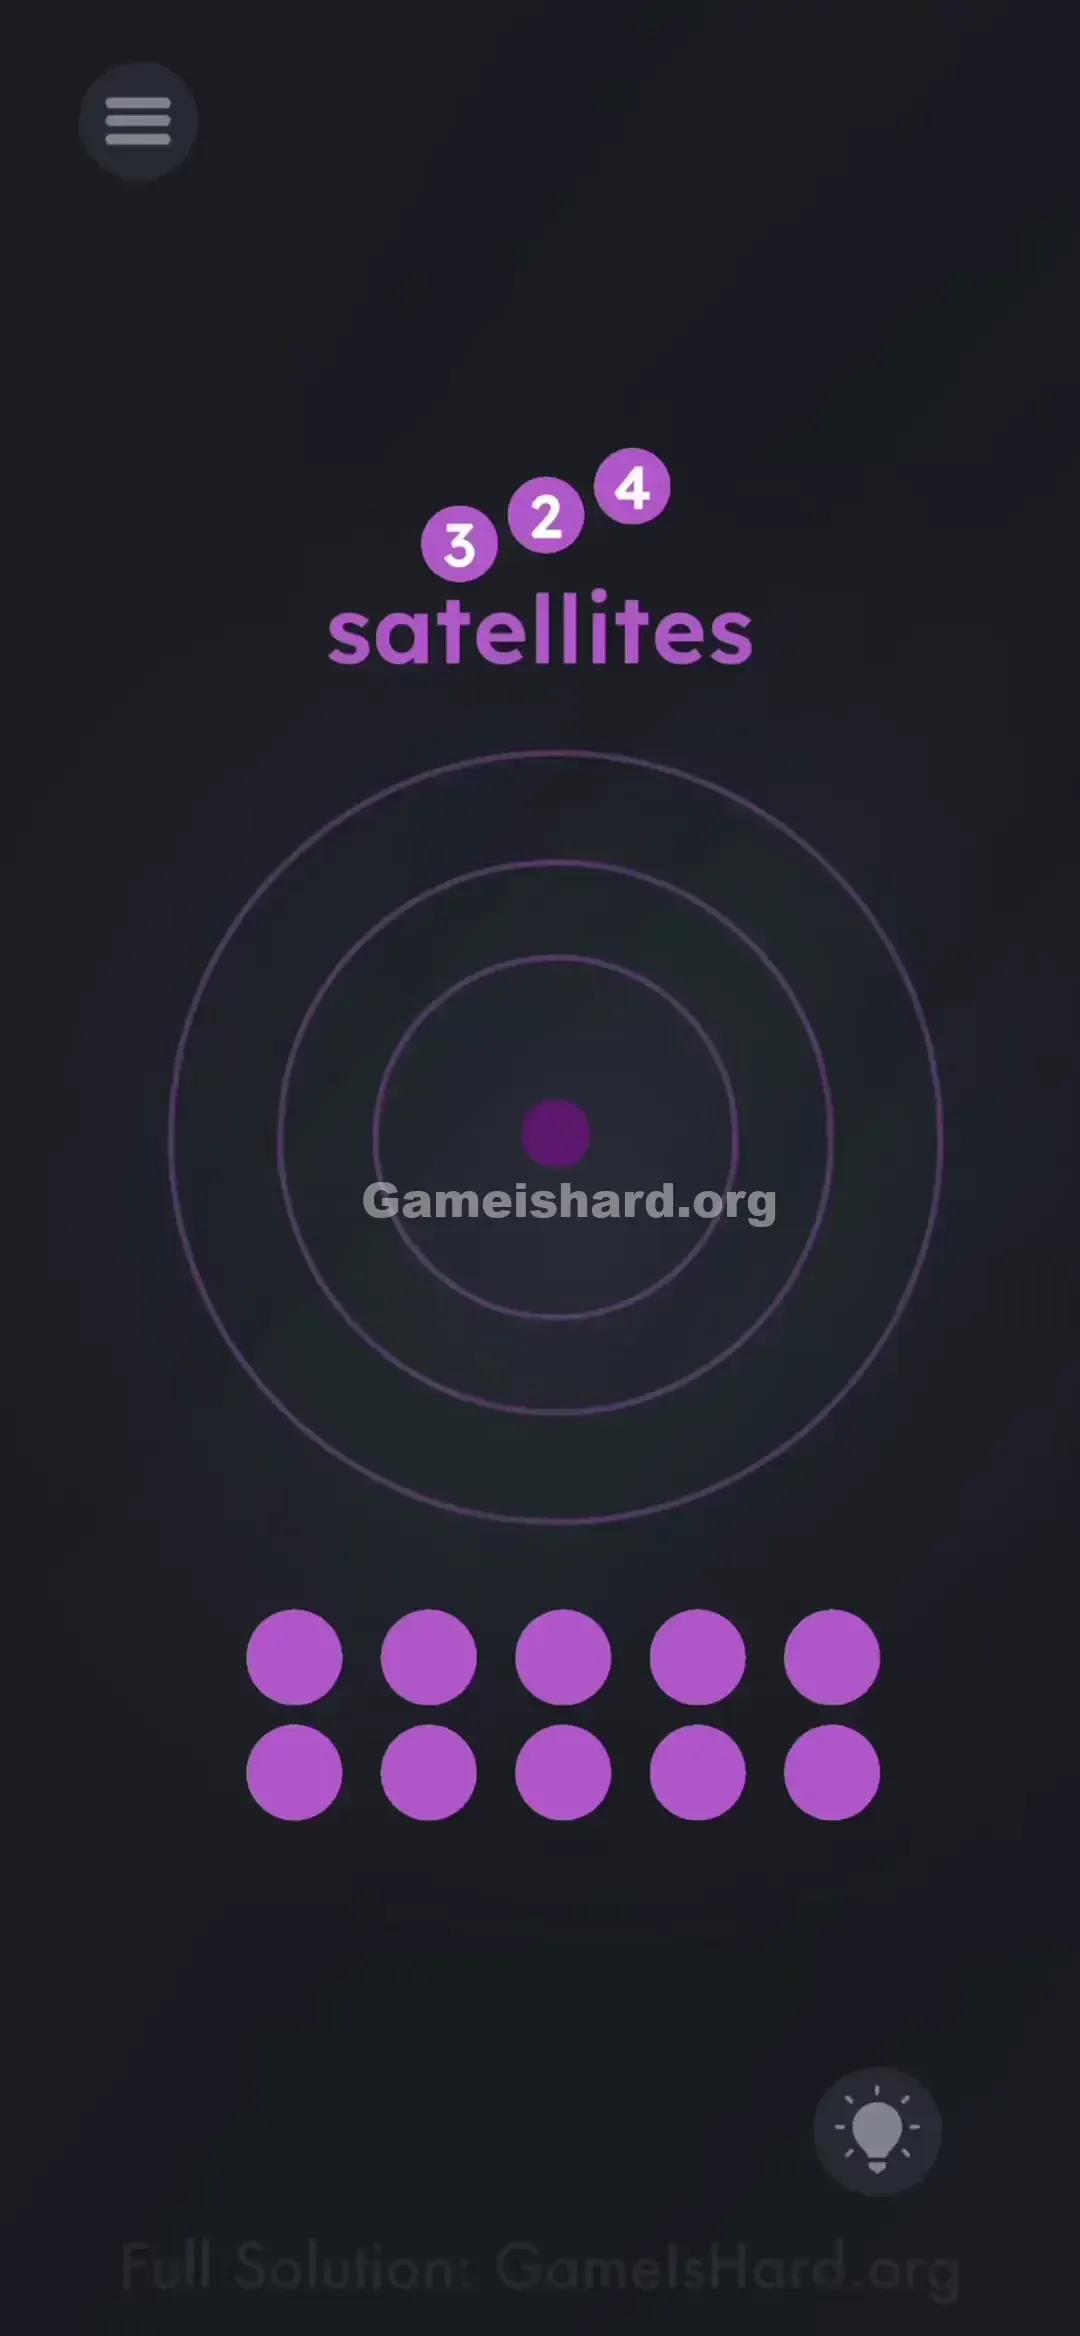
You’re greeted with a silent, static scene: a central target, a cluster of purple balls, and floating numbers. At first glance, it feels like an arcade-style launcher—except there’s no fire button, no motion cues, and zero feedback. It’s calm… almost too calm.
Your Goal
Your task is simple but precise: place the right number of “satellites” (purple balls) onto each orbital ring. This isn’t about physics or timing—it’s about interpreting clear visual instructions laid out in front of you.
Mechanics involved in Game is hard Level 82:
- Drag and Drop: Move any purple sphere freely across the screen.
- Pattern Matching: Those numbers aren’t scores—they’re step-by-step directions.
- Snap-to-Grid: Balls lock into place when aligned correctly with a ring. It’s not testing reflexes. It’s testing whether you read carefully.
What Appears on Your Screen
The screen centers on a large, dark radar-like diagram—a bullseye with three evenly spaced concentric rings around a small dot.
At the very top, three numbers—3 , 2 , and 4 —hover inside tiny purple circles, directly above the word satellites . Their varying heights might catch your eye, but they’re just stylistic; only their left-to-right order matters.
Below, ten identical purple balls sit neatly in two rows at the bottom of the screen—waiting for direction. The UI stays clean: menu icon top-left, hint bulb bottom-right. Nothing moves unless you move it.
Common Mistakes to Avoid
The Trap
A bullseye naturally suggests “aim and hit.” Many players instinctively drag all balls toward the center—or try to distribute them evenly (like 3-3-3). The real trap? Assuming the top-row numbers (3, 2, 4) are just decorative flair or a score display. They’re neither.
First Instincts That Fail
- Flicking or flinging: Some attempt to swipe balls into orbit like a slingshot game. Not applicable here.
- Overloading: Dropping all 10 balls onto the rings creates clutter—and triggers failure. Only 9 are needed.
- Searching for color clues: Every ball is identical purple. There’s no hidden palette logic.
Player Reactions
I wasted nearly a minute tapping balls, hoping they’d launch on their own. I even tried timing taps like a rhythm game. Then it clicked: just lift and place—like arranging ornaments on a circular wreath. Instant facepalm.
Step-by-Step Solution
Preparing the Move
Focus on the numbers above satellites : 3 , 2 , and 4 . These map directly to the rings—starting from the center and moving outward.
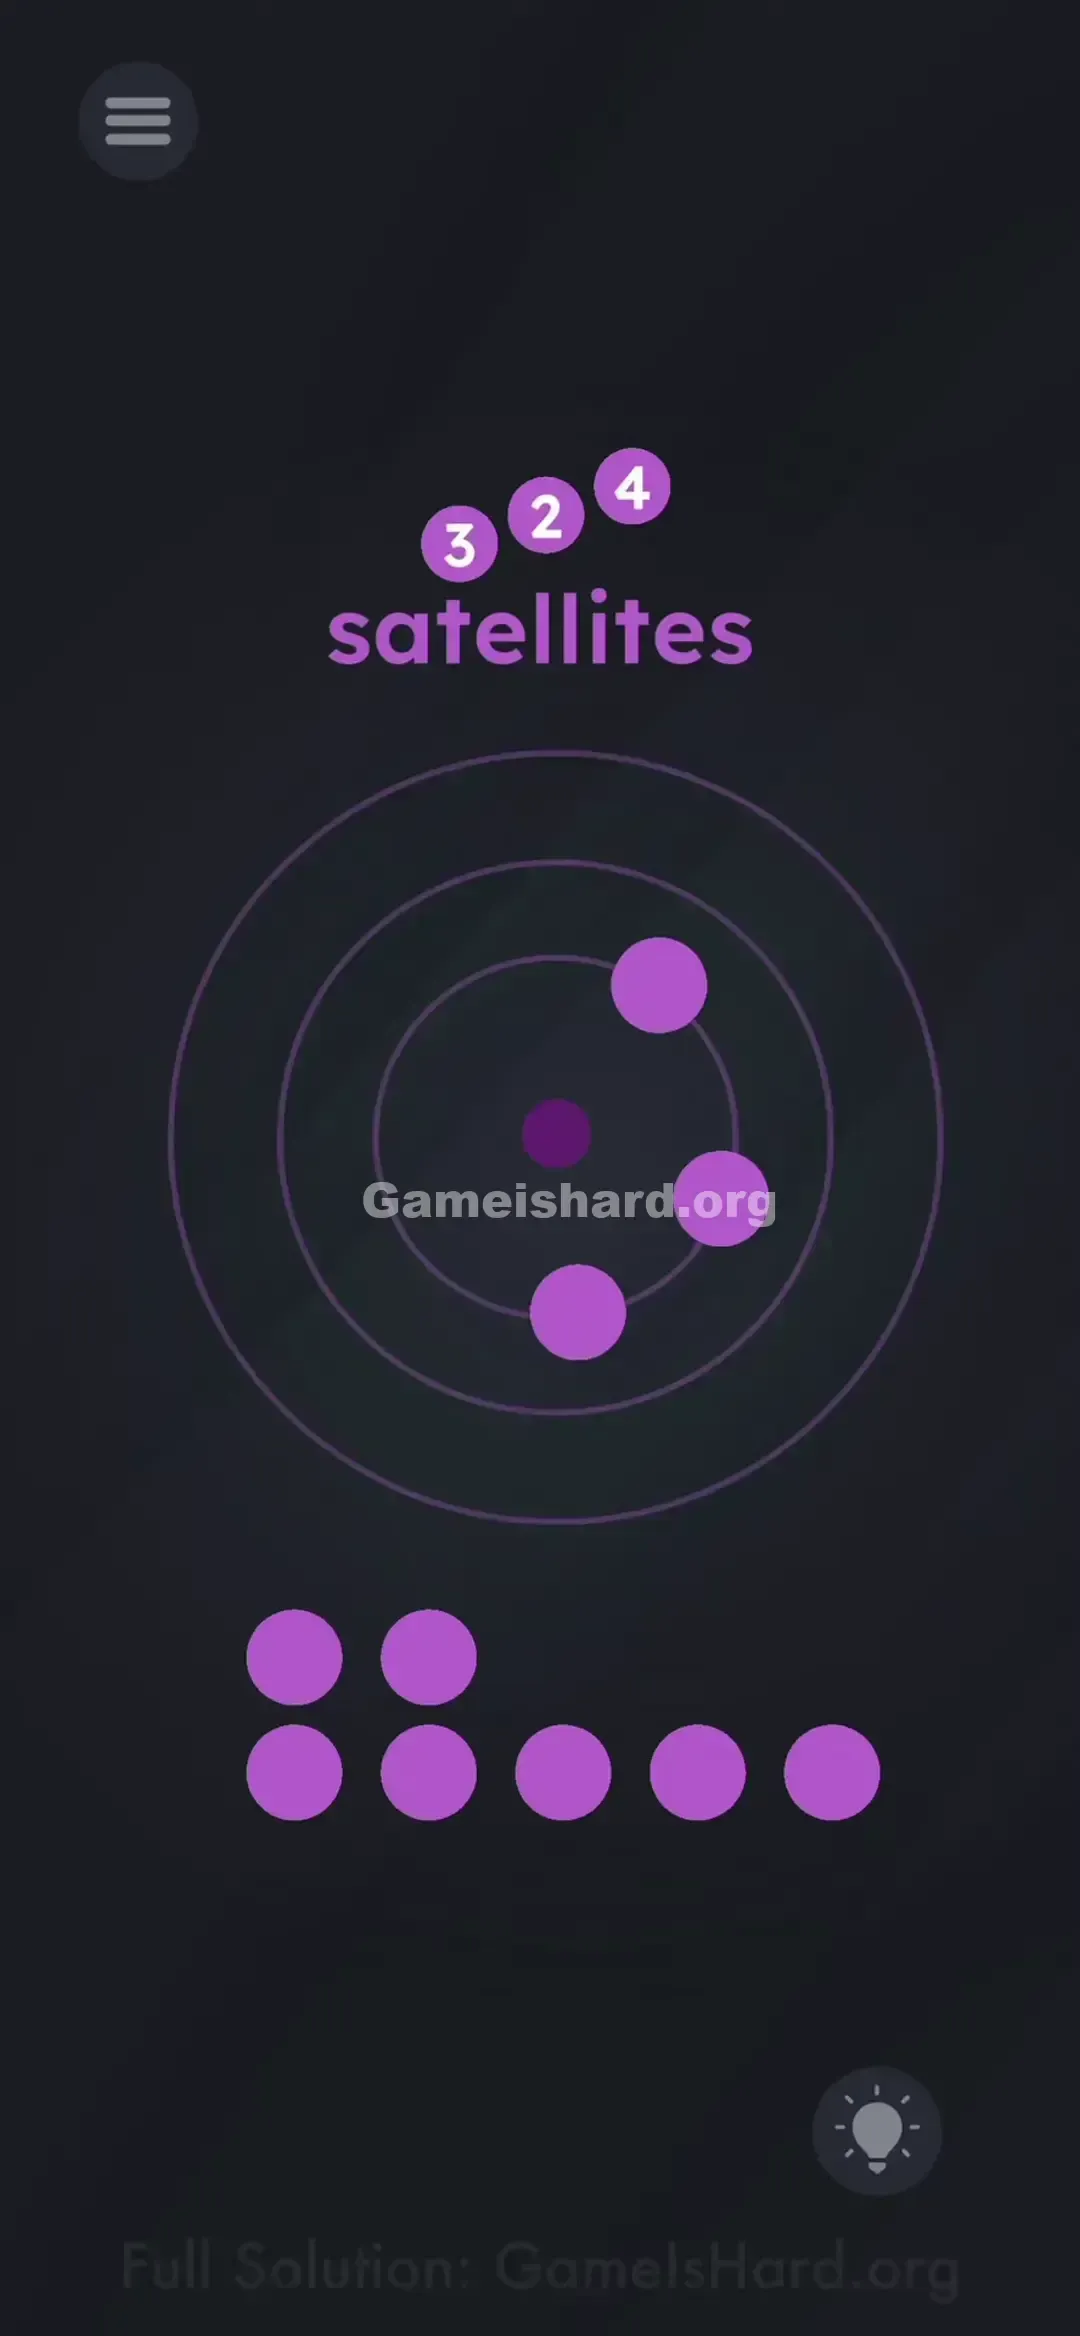
- Innermost Ring = First Number ( 3 )
- Middle Ring = Second Number ( 2 )
- Outermost Ring = Third Number ( 4 )
Executing the Solution
- Drag 3 purple balls from the bottom pile and place them onto the smallest, innermost ring . Spacing doesn’t matter—just ensure each lands cleanly on that line.
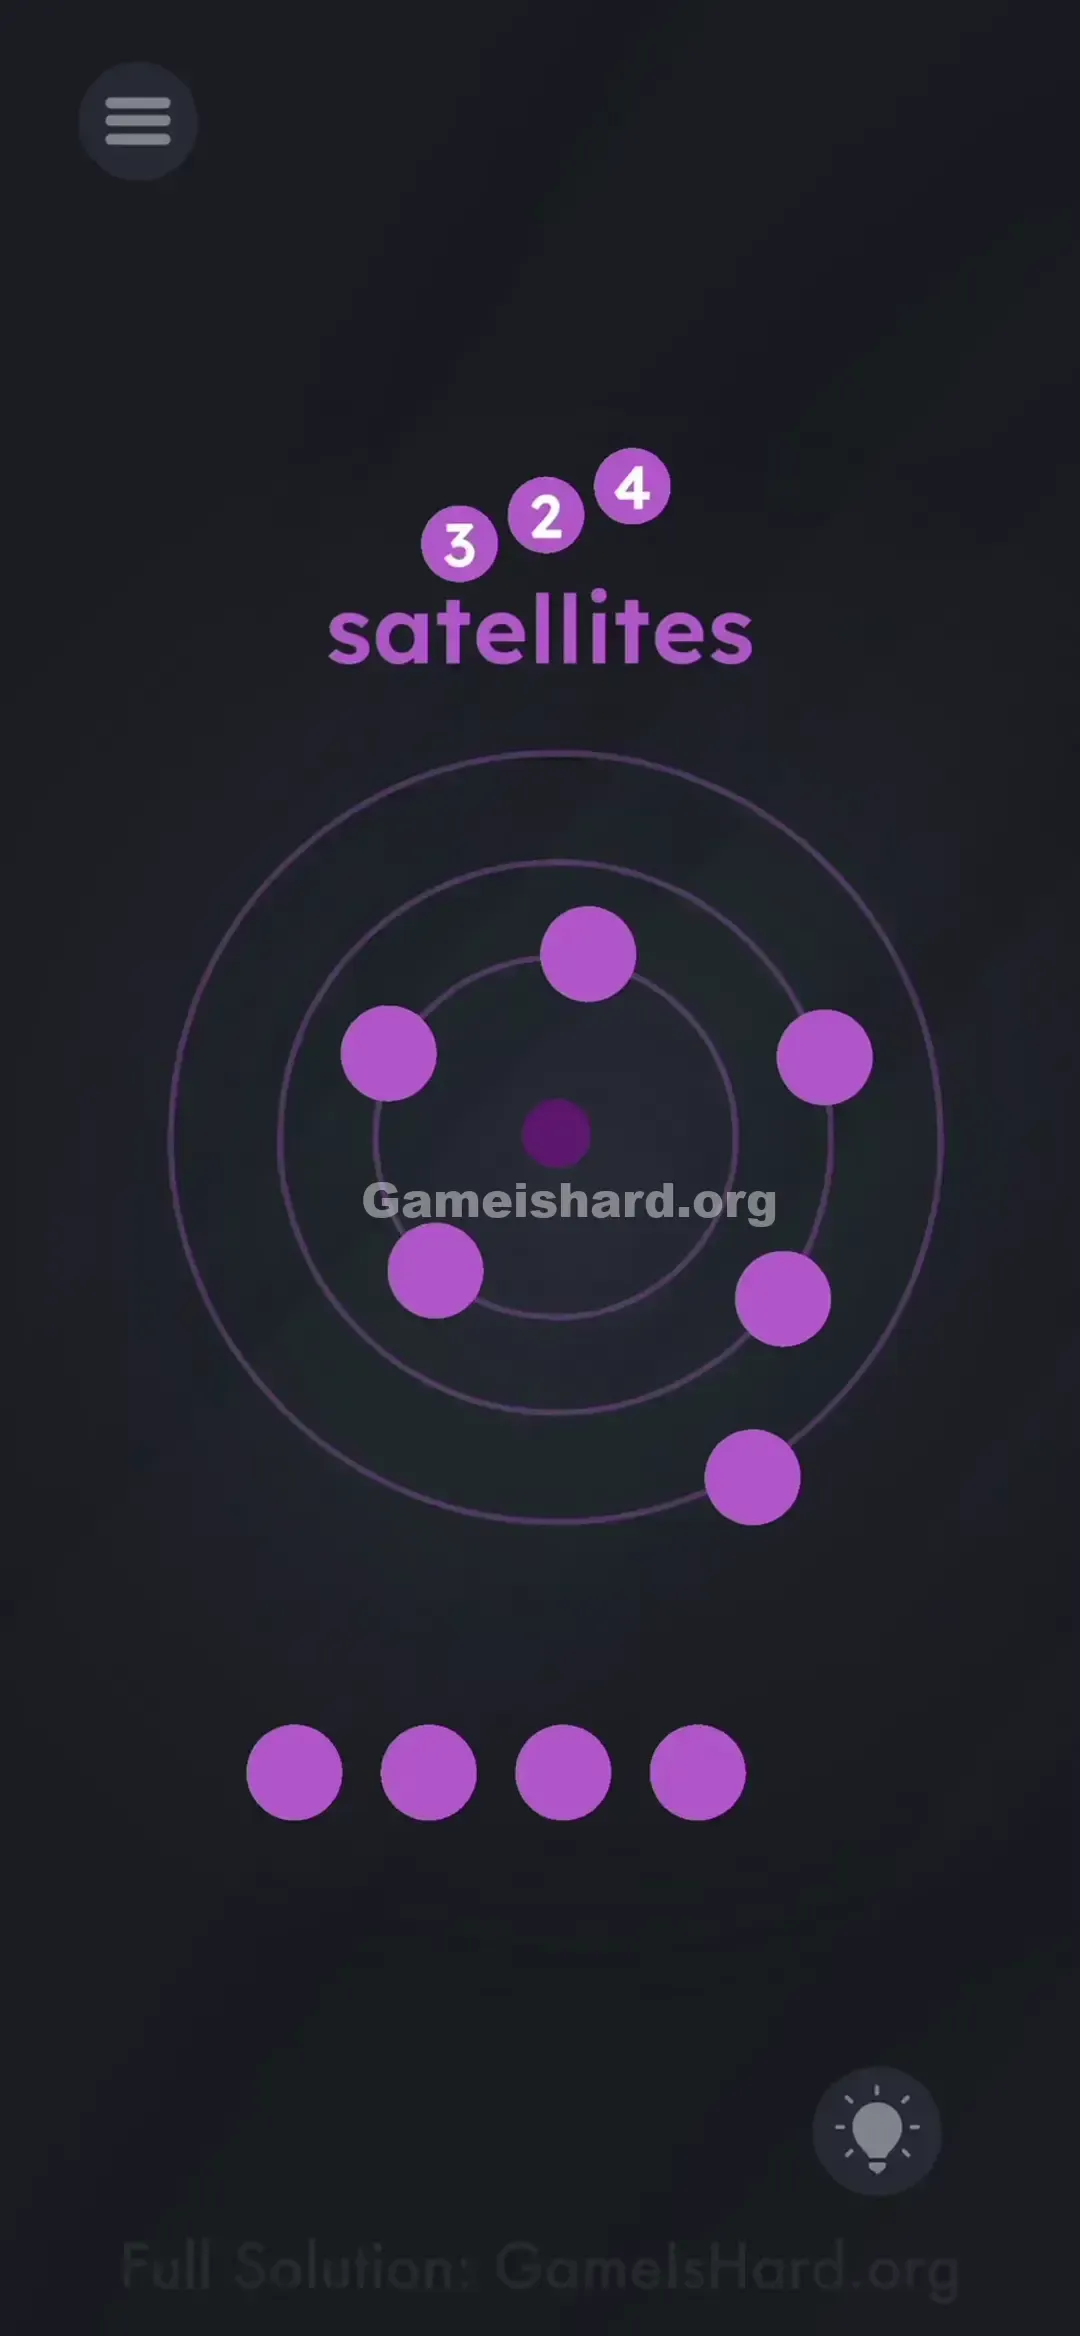
- Drag 2 purple balls onto the middle ring . Again, placement along the circle is flexible—only the ring matters.
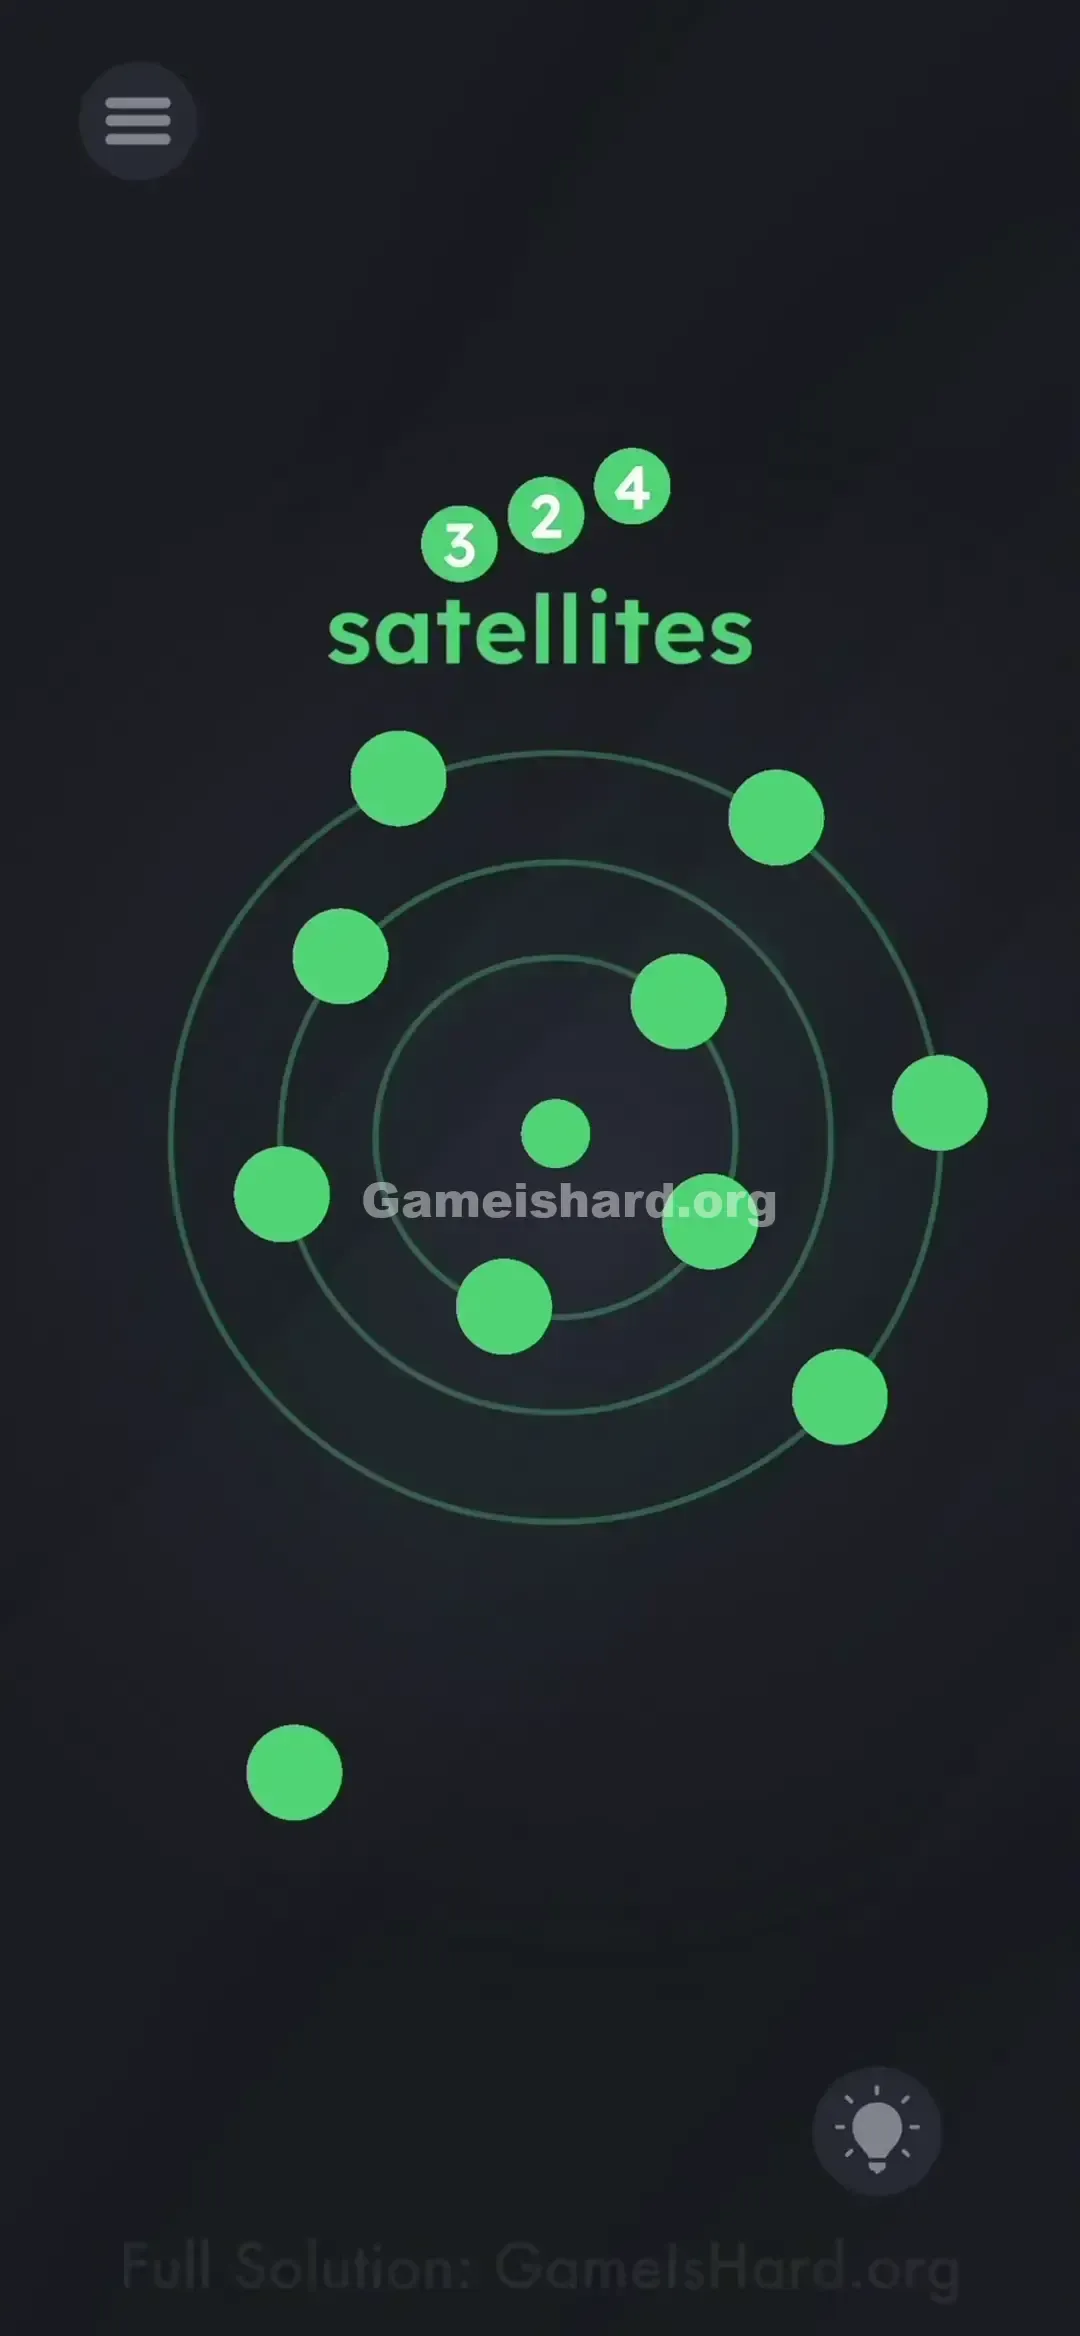
- Drag 4 purple balls onto the largest, outermost ring .
- As soon as the ninth ball settles on the outer ring, the level completes instantly.
If It Did Not Work
- If nothing happens: A ball may be hovering between rings. Gently nudge each until it snaps firmly onto its intended orbit.
- The Spare Ball: You’ll have one purple ball remaining (3+2+4 = 9 used). Let it stay in the tray. Adding it anywhere will throw off the counts and cause failure.
- Order matters for clarity: Though you can fill rings in any sequence, going Inside-Out (3 → 2 → 4) helps avoid miscounting.
Why This Solution Works
This level uses Data Visualization Logic. You’re given raw data (3, 2, 4) and a visual framework (three rings)—and asked to manually plot the values.
It breaks the usual “use everything” gaming expectation. Most games hand you 10 bullets and expect you to fire all 10. Here, you get 10 balls—but only need 9. That extra ball is a quiet logic test: “Did I miss something?” Nope. Trust the numbers.
Bonus Tip
- Ignore the vertical alignment of the numbers 3, 2, 4—their height means nothing. Only their sequence matters.
- Avoid stacking balls. Keep them slightly separated so the game registers each as a distinct object.
- Don’t touch the word “satellites”—it’s fixed, non-interactive, and included purely to reinforce the theme (not as a puzzle element).
Frequently Asked Questions
Q: Does the position of the balls on the ring matter? A: No. Cluster them or space them evenly—either works, as long as they’re on the correct ring line.
Q: What do I do with the last ball? A: Nothing. Leave it in the tray. It’s intentional excess—not part of the solution.
Q: I placed them correctly but the level won’t complete? A: Double-check the middle ring. It’s easy to accidentally shift a ball from the inner ring down into the middle one—turning your 3-2-4 into 2-3-4. Nudge each ball to confirm which orbit it’s locked to.
Q: Can I shake the phone to auto-align them? A: No. This level relies solely on touch input—no motion sensors involved.
More Game Is Hard Solutions
If this guide saved your phone from becoming a projectile, you’re in luck—we’ve got dozens more. Game Is Hard reinvents the rules every level, so getting stuck is totally normal. Browse our other walkthroughs for quick, no-nonsense answers. And if your Discord squad’s hitting a wall, share this link—it’ll save everyone time.