App updates can occasionally shift puzzle order. If this level 174 guide doesn’t match what you see, no problem! Just visit our All Levels page to locate your exact puzzle by image.
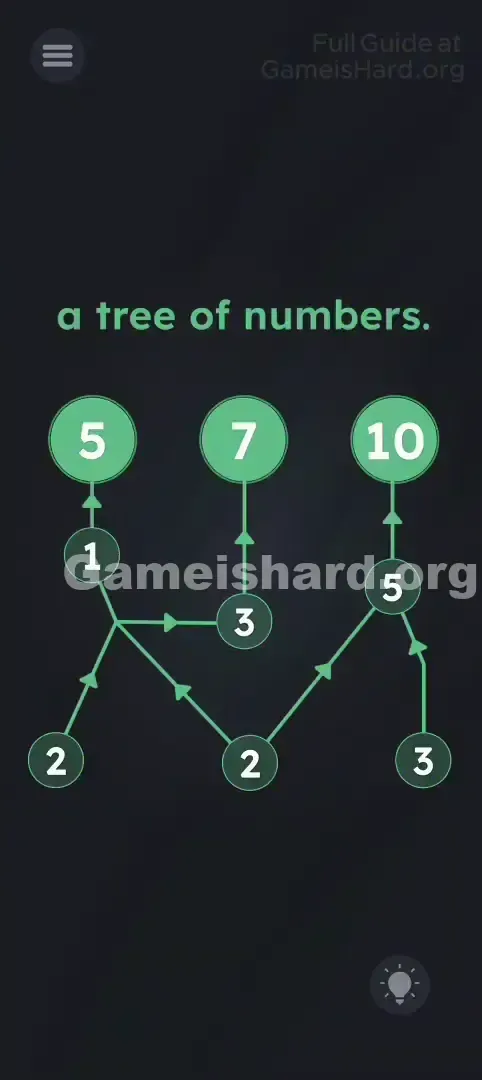
- Bottom Row (Left to Right): 2 , 2 , 3
- Middle Row (Left Circle under the 5): 1
- Middle Row (Right Circle under the 10): 5 Target: Place them carefully; the numbers must snap into the circles to register the sum.
Level Overview
What Makes This Puzzle Tricky
You launch the level and it hits like a flashback to confusing algebra class. There’s a “tree of numbers,” arrows crisscrossing everywhere, and loose digits floating around like scattered puzzle pieces. It feels less like a logic challenge and more like decoding a tangled wiring diagram. The real headache isn’t just adding numbers—it’s mapping which bottom circle actually feeds into which top result.
Your Goal
Your job is to fill the blank purple circles so that the top row—displaying 5, 7, and 10—adds up correctly. This is a sum-based tree: each top number equals the total of all values directly linked beneath it. You’re not solving for an answer—you’re reconstructing the equation that makes those top numbers true.
The Mechanics at
- Drag and Drop: Move the available numbers—1, 2, 2, 3, and 5—into the designated slots.
- Logic Puzzle: Think of it as a dependency network. Adjust one bottom number, and multiple top totals shift at once.
- Visual Tracing: Those subtle purple arrows are your roadmap. Follow each line to see exactly which bottom or middle circles feed into which top targets. Nothing’s arbitrary—each arrow represents a + operation.
What Appears on Your Screen
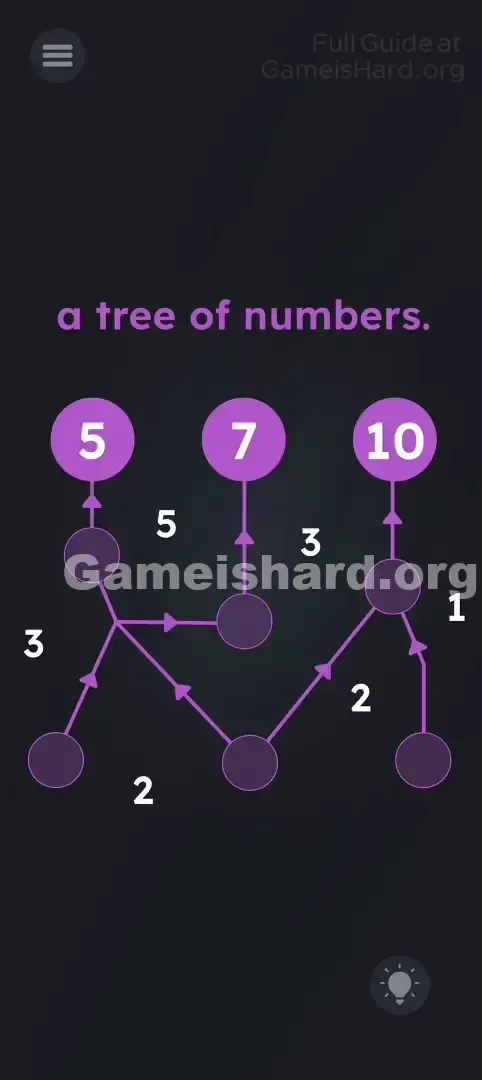
The interface uses a dark background with purple accents. At the very top sit three fixed circles showing your target sums: 5 , 7 , and 10 .
Below them lies the connection structure:
- Middle Row: Two open circles—one roughly aligned under the 5, another under the 10.
- Bottom Row: Three empty circles arranged side-by-side.
- Arrows: Purple lines with directional arrows link bottom circles to middle ones, and both rows connect upward to the top targets.
- Loose Numbers: Five movable digits—1 , 2 , 2 , 3 , and 5 —are scattered across the screen. It resembles a circuit schematic—if you skip tracing the connections first, you’ll just be placing numbers blindly.
Common Mistakes to Avoid
The "Ghost" Node (The 7)
The biggest stumbling block is the 7. Many players instinctively search for a middle-circle slot directly under it—only to find none exists. The top 7 isn’t fed by its own dedicated middle node. Instead, it’s purely the sum of all three bottom-row numbers. Trying to solve for 7 first leads nowhere because there’s no standalone input for it.
The Overlap Confusion
Arrows overlap intentionally—the bottom-center circle, for instance, connects to both left and right branches. That means its value contributes to all three top totals. Most assume each column operates independently and try solving “5’s column” and “10’s column” separately. But this puzzle is one unified system—not three isolated equations.
Player Reactions
I wasted nearly two minutes trying to drag the number 7 itself into a slot. I thought maybe the layout was broken or I needed to reposition a target. Nope—the UI only allows movement of the small floating numbers. Once I realized I was overthinking a basic addition setup, it clicked instantly.
Step-by-Step Solution
Preparing the Move
Pause on the middle row for now. The most critical placement is the Bottom Middle circle—it links to nearly every path. Get this wrong, and the whole tree falls apart. Start from the ground up.
Executing the Solution
Step 1: The Foundation (Bottom Row) These three positions set the base layer.
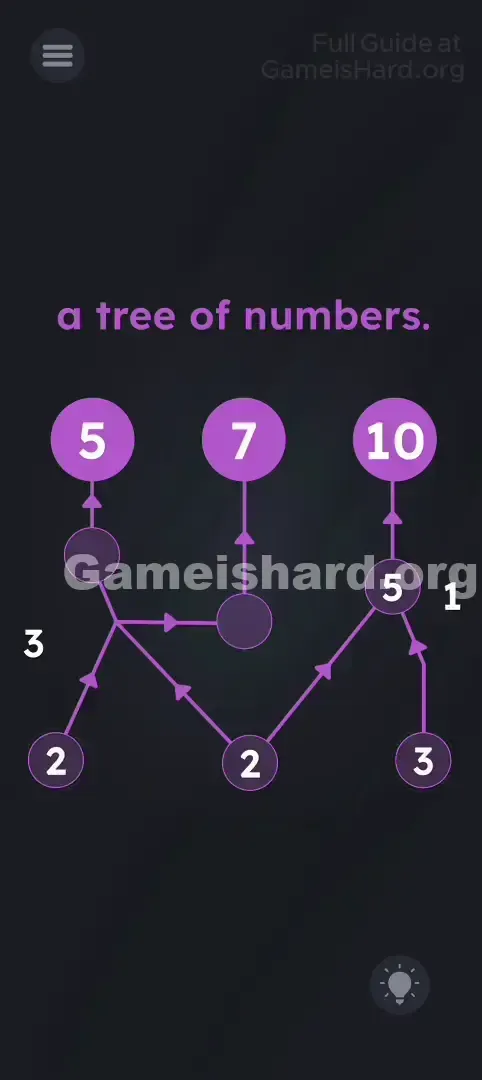
- Drag a 2 into the Bottom Left empty circle.
- Drag the other 2 into the Bottom Middle empty circle.
- Drag the 3 into the Bottom Right empty circle. Verification: At this stage, the center top value (7) should align automatically—since 2 + 2 + 3 = 7, and all bottom arrows route through the central flow.
Step 2: The Connectors (Middle Row) You’ve got two numbers left: 1 and 5. They bridge the bottom layer to the top targets (5 and 10).
- Drag the 1 into the Middle Left circle (the one positioned under the top 5). Why? The top needs to total 5. The bottom nodes feeding this branch—2 (left) and 2 (middle)—add up to 4. You need 1 more. (2 + 2 + 1 = 5).
- Why? The top needs to be 5. The bottom nodes (2 and 2) sum to 4. You need 1 more. (2 + 2 + 1 = 5).
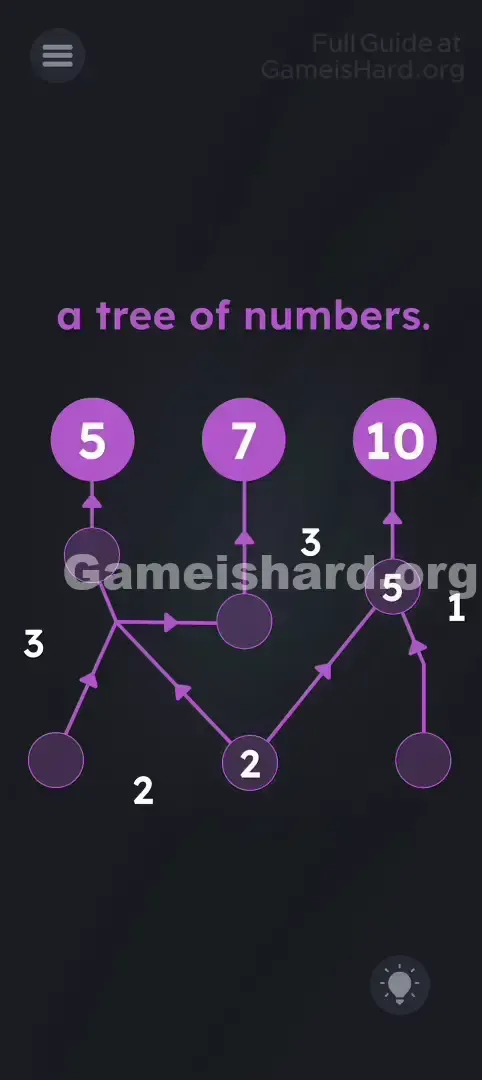
- Drag the 5 into the Middle Right circle (the one sitting under the top 10). Why? The top needs to reach 10. The bottom nodes contributing here are the middle (2) and right (3), totaling 5. You need 5 more to hit 10. (2 + 3 + 5 = 10).
- Why? The top needs to be 10. The bottom nodes feeding this side are the middle one (2) and the right one (3). That’s 5. You need 5 more to hit 10. (2 + 3 + 5 = 10). Step 3: The Check As soon as the final number locks in place, the connections should activate—or the level will complete instantly. If nothing happens, double-check your placements against the list above.
If It Did Not Work
- Numbers popping out: If a digit won’t stay put, your drag wasn’t centered enough on the empty circle—the target zone is precise.
- Level not ending: You may have swapped bottom-row numbers. Swapping the 3 and a 2 on the far left or right might seem harmless for side totals, but it breaks the 7-sum requirement. Keep the 3 firmly in the Bottom Right slot.
Why This Solution Works
This level disguises a lesson in interconnected systems—a real-world concept mirrored in programming and game design called a “directed acyclic graph” (DAG).
What’s really being tested is your ability to spot the pivotal element. The Bottom Middle circle is that linchpin: arrows from it feed both the left (5) and right (10) branches, meaning its value gets counted multiple times—including in the 7.
- Top 5 = Bottom Left + Bottom Middle + Middle Left
- Top 10 = Bottom Right + Bottom Middle + Middle Right
- Top 7 = Bottom Left + Bottom Middle + Bottom Right (the full bottom-row sum) Once you recognize that 7 is simply the sum of the bottom row (2+2+3=7), the rest follows naturally. The cluttered visuals exist to distract—not to complicate the math. It’s not about calculation speed; it’s about cutting through visual noise to identify the core input.
Bonus Tip
For speed runs or repeat attempts, use this quick mental rule: Match size to size.
- Spot the largest loose number ( 5 ).
- Find the largest target ( 10 ).
- Place that 5 in the middle-right slot—the one feeding the 10.
- Assign the smallest number ( 1 ) to the smallest target branch ( 5 ).
- Fill the bottom row with whatever’s left. This works because puzzle games rarely defy intuitive scaling—larger inputs almost always support larger outputs.
Frequently Asked Questions
Why doesn't the middle top number (7) have a circle below it? The 7 serves as a passive checksum—it reflects the total of the bottom row, not a value requiring its own modifier. No direct input is needed; it auto-solves when the bottom adds to 7.
Can I swap the two 2s? Absolutely. Since both are identical in value, swapping which “2” goes where makes zero difference—the game validates numbers, not object IDs.
Does placement order matter? Not technically—but starting from the bottom (leaves) and working upward (to root) keeps your math grounded and avoids guesswork.
I put the numbers in correctly but nothing happened. Try tapping each placed number lightly to “confirm” it. Occasionally the engine needs that extra nudge to register the drop. If still unresponsive, restart—the logic handler might’ve stalled.
More Game Is Hard Solutions
That’s how you crack the number tree without needing pen and paper. Found this helpful? We’ve got hundreds more no-fluff, straight-to-the-solution guides for every tough puzzle in Game Is Hard. Head to the main site for instant answers!