App updates can sometimes shuffle the order of puzzles. If this level 119 walkthrough doesn't match your screen, don't worry! You can browse our All Levels guide to find your exact puzzle by its picture.
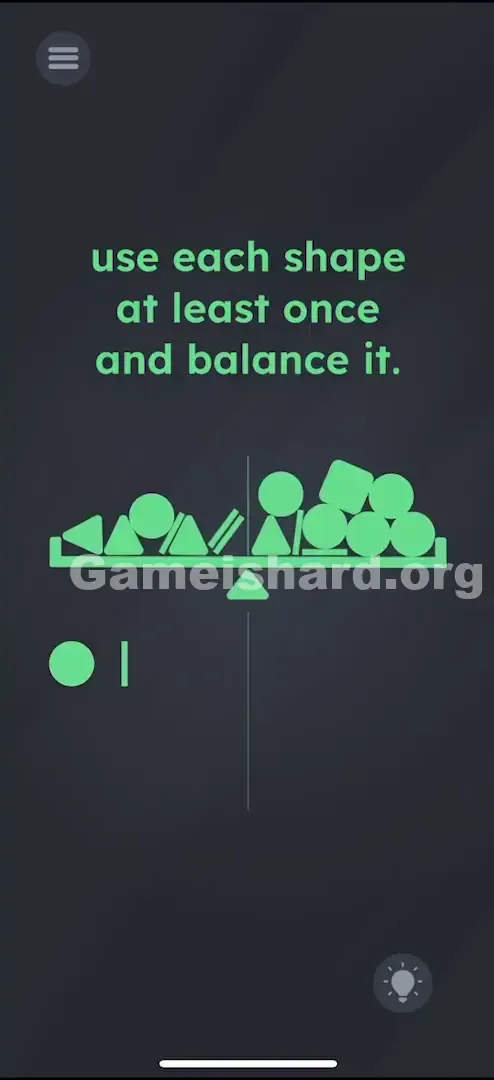
You can use this exact combo:
- Left Side: 1 Circle, 3 Triangles, 3 Lines (Total: 1 + 9 + 6 = 16)
- Right Side: 5 Circles, 1 Triangle, 1 Square, 2 Lines (Total: 5 + 3 + 4 + 4 = 16)
Level Overview
What Makes This Puzzle Tricky
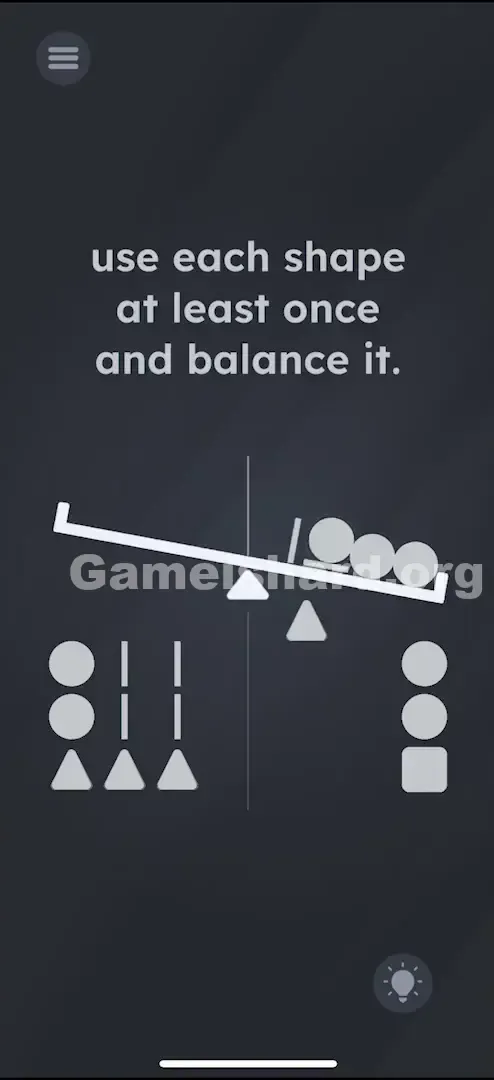
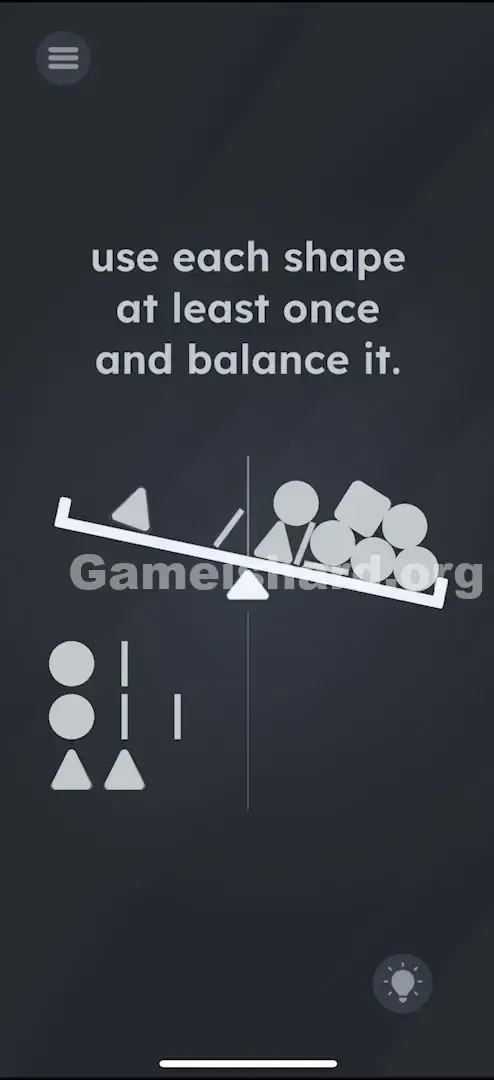
It starts with a clean balance scale and a simple instruction: “Use each shape at least once and balance it.” At first glance, it feels straightforward—until you realize none of the shapes display their weights. You drop a few pieces, the scale tilts unpredictably, and confusion sets in. Is this about real-world physics—or just hidden math?
Your Goal
Your goal is to distribute the available shapes across both pans so their total values match exactly—and you must include at least one of each shape type (circle, line, triangle, square) somewhere on the scale.
How the Game Responds
- Drag & Drop: Move shapes from the bottom inventory directly onto either side of the scale.
- Hidden Values: Each shape corresponds to a fixed number (circle=1, line=2, triangle=3, square=4), though these aren’t shown upfront.
- Math Logic: This is pure arithmetic dressed up as a balancing challenge. It’s not about visual weight or placement—it’s about summing the invisible numbers behind each shape.
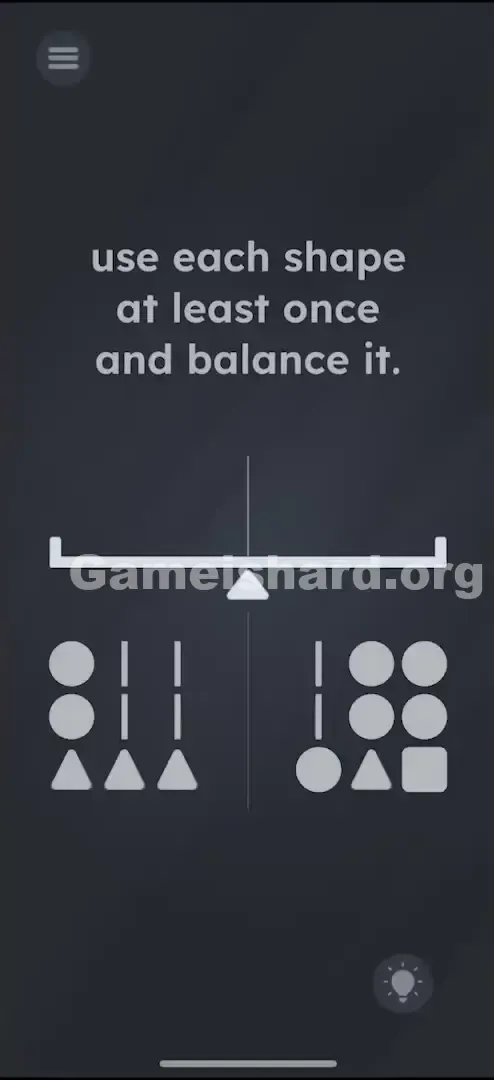
What Appears on Your Screen
The interface uses a sleek dark grey background with crisp, minimal design.
- Top Text: "use each shape at least once and balance it."
- Center: A white balance scale that shifts left or right based on your placements.
- Bottom Area: Your shape inventory—split into two clusters.
- Left Cluster: A mix of circles, lines, and triangles.
- Right Cluster: More circles, lines, triangles, and a single square.
- The Shapes: Circle: Small, round. Line: Vertical stick. Triangle: Upward pointing. Square: The heaviest looking one (and actually the heaviest).
- Circle: Small, round.
- Line: Vertical stick.
- Triangle: Upward pointing.
- Square: The heaviest looking one (and actually the heaviest).
Common Mistakes to Avoid
The Trap
The biggest hurdle is the missing information. Many players instinctively treat it like a real-life balance—adjusting positions, guessing relative weights, or assuming bigger shapes weigh more. That leads to frustrating trial-and-error loops where the scale seems unpredictable.
First Instincts That Fail
- Physics assumptions: Thinking the square must be dramatically heavier than the circle—it’s only four times heavier (4 vs. 1).
- Symmetry bias: Trying to mirror shapes on both sides. But you don’t have matching quantities of each shape, making symmetry impossible here.
Player Reactions
I spent several minutes overthinking placement—wondering if centering mattered or if stacking affected balance. Turns out, it’s purely additive. Once I stopped treating it like a physics sim and started calculating totals, everything clicked. Felt like a lightbulb moment—not a trick, just clean logic.
Step-by-Step Solution
Preparing the Move
Forget gravity and leverage. Commit these values to memory:
- Circle = 1
- Line = 2
- Triangle = 3
- Square = 4 You’re working with a finite set of shapes—your job is to split them across the pans so both sides add up to the same number.
Executing the Solution
- Clear the scale if needed—drag misplaced pieces back down or restart.
- Load the Left Side: Drag 1 Circle , 3 Triangles , and 3 Lines onto the left pan. Math Check: 1 + (3x3) + (3x2) = 16 .
- Math Check: 1 + (3x3) + (3x2) = 16 .
- Load the Right Side: Drag 5 Circles , 1 Triangle , 1 Square , and 2 Lines onto the right pan. Math Check: 5 + 3 + 4 + (2x2) = 16 .
- Math Check: 5 + 3 + 4 + (2x2) = 16 .
- Wait briefly—the scale will settle perfectly level when both sides hit 16.
If It Did Not Work
- "It didn't trigger!" Double-check that the Square is placed somewhere on the scale. The prompt requires each shape type, and leaving the square unused—even with perfect math—will fail the level.
- Crowding: If shapes visually spill off the pan, don’t panic. As long as they register as placed on the correct side, their weight counts. Stack them however fits.
Why This Solution Works
This level ditches the wordplay and illusion-based tricks of earlier stages and focuses squarely on arithmetic. The “hard” part isn’t deception—it’s withholding the key numbers until you deduce or discover them.
Assigning values based on intuitive cues (like sides or simplicity) gives us:
- Circle (no corners, continuous curve) = 1
- Line (two endpoints, simplest linear form) = 2
- Triangle (three sides) = 3
- Square (four sides) = 4
The “use each shape at least once” rule ensures you engage fully with all four values—not just chase an easy shortcut.
Bonus Tip
When tackling this level—or guiding someone through it—follow the “Value Hierarchy” strategy:
- Square is your anchor. Place it first (on the right side).
- Triangles provide mid-range weight. Use them to offset the square (on the left side).
- Circles and lines act as adjustable units. Slot them in last to fine-tune the total. Skip the neat arrangement—this isn’t Tetris. It’s addition. Prioritize numbers over aesthetics.
Frequently Asked Questions
Q: Does it matter where I place the shapes on the scale in Game is hard Level 119? A: No. Placement within a pan (edge vs. center) has zero effect. Only the side—Left Pan or Right Pan—matters.
Q: Can I put everything on one side? A: Absolutely not. Balance requires equal sums on both sides—so you must distribute shapes across both pans.
Q: Why is the line worth 2? A: The values are intentionally simple and ascending—not strictly geometric. Think of it as a consistent progression: simplest shape = lowest value.
Q: I have leftover shapes, is that okay? A: Yes. The requirement is to use each shape type at least once—not every individual piece. Our solution uses most available items to reach the target sum of 16.
More Game Is Hard Solutions
Stuck on the next puzzle? We’ve got fast, no-nonsense guides for every level of Game is hard . Don't let a hidden trick ruin your streak. Bookmark our page and share it with your Discord group when they get stuck too. Good luck!